How to Make a Golden Lattice-Top Apple Pie (With Smart Storage and Make-Ahead Tips)
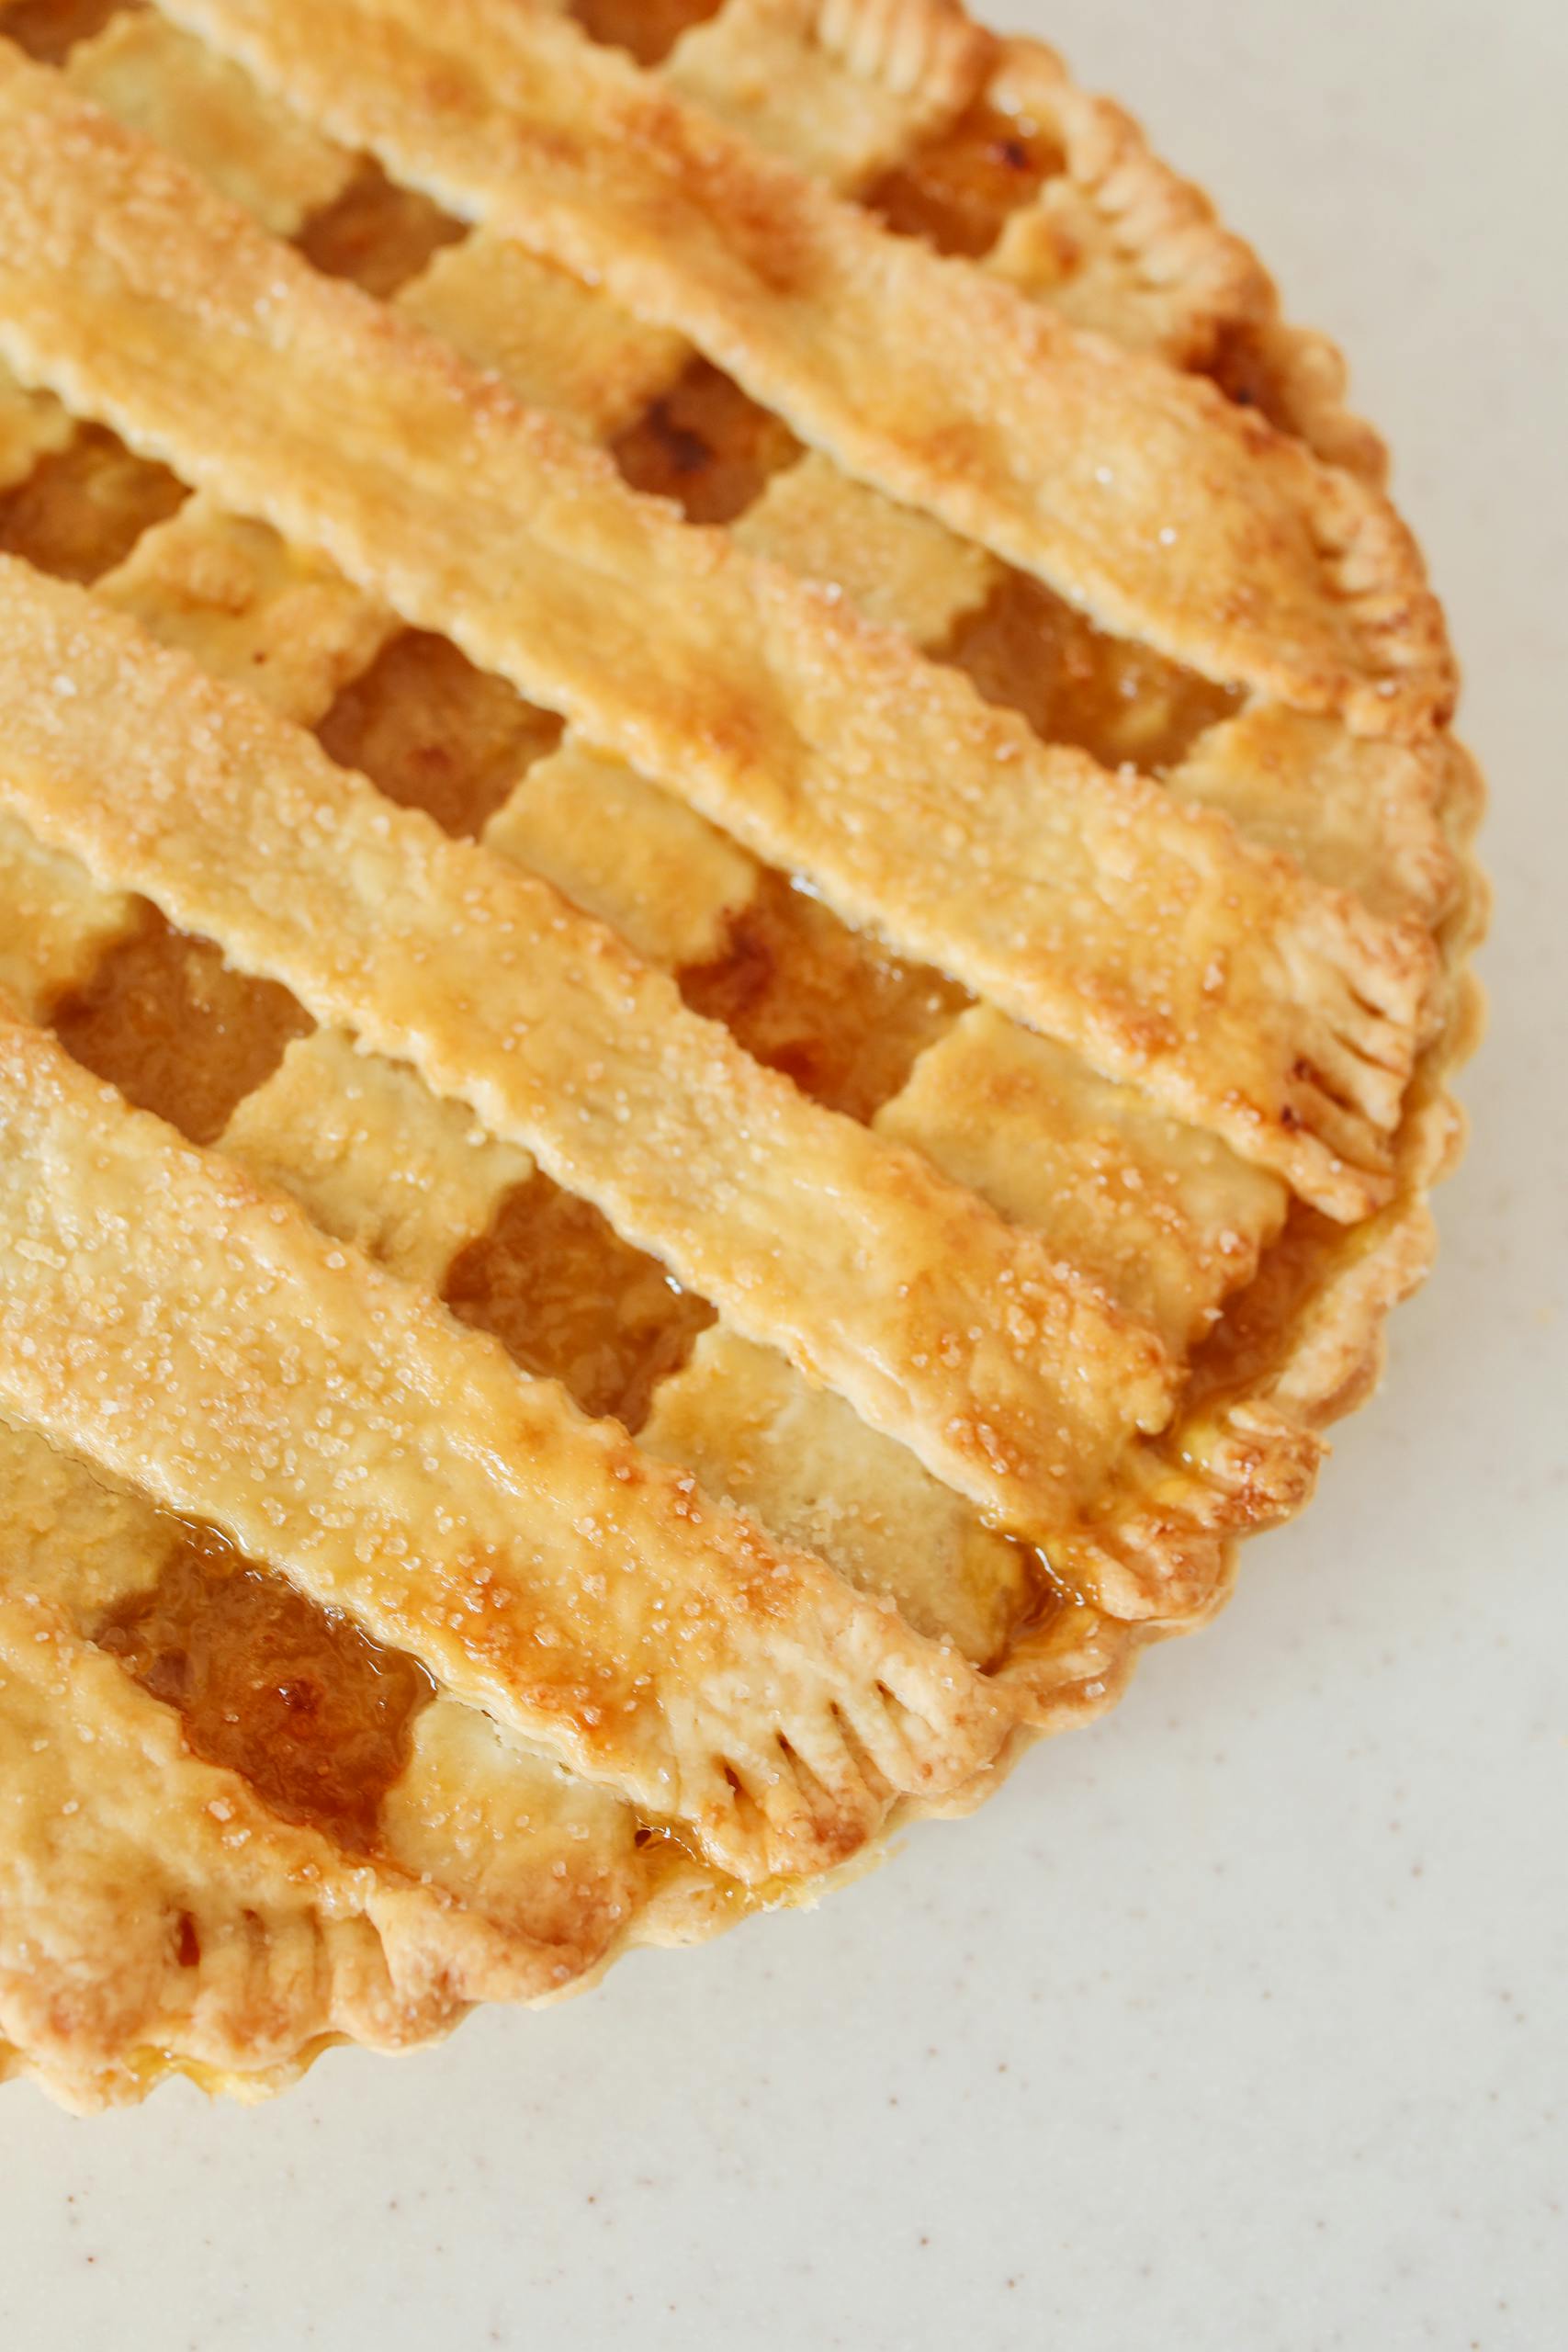
A golden lattice crust, crimped edges, and glossy fruit peeking through the top—this is the kind of pie that makes a kitchen feel instantly warmer. Inspired by the classic look of a lattice-top fruit pie (very likely apple-style), this guide walks you through building one at home with confidence.
We’ll focus on technique: flaky dough, properly thickened filling, even browning, and safe storage. No guesswork from the photo—just practical steps you can use with apples or another firm fruit you love.
Ingredients
- Pie dough for a double-crust pie (homemade or store-bought)
- Fresh apples (or another firm baking fruit, or a mix)
- Granulated sugar (adjust to taste)
- A thickener such as all-purpose flour, cornstarch, or tapioca
- A splash of lemon juice or other mild acid
- Optional warm spices (such as cinnamon or nutmeg)
- A small amount of butter for dotting the filling
- Egg wash (egg beaten with a little water) and coarse sugar for the top
How to Make It
1. Prepare and Chill the Dough
If making homemade dough, mix and chill it thoroughly before rolling. Cold dough helps create flakiness and prevents shrinking. King Arthur Baking’s pie guide emphasizes keeping ingredients and dough cool and allowing the dough to rest so the gluten relaxes, making it easier to roll and shape.
2. Prep the Fruit Filling
Wash your apples under running water and dry them before peeling or slicing. FoodSafety.gov recommends washing produce and keeping surfaces clean to prevent cross-contamination.
Slice the fruit evenly so it cooks at the same rate. Toss with sugar, your chosen thickener, lemon juice, and optional spices. King Arthur’s classic apple pie approach relies on balancing fruit, sugar, and thickener so the filling sets without becoming gluey.
Let the mixture sit briefly. This draws out some juice, helping you see how much liquid you’re working with before filling the crust.
3. Roll the Bottom Crust
Roll one disk of dough into a circle large enough to fit your pie plate with some overhang. Gently transfer it to the plate and press it into the corners without stretching. Stretching can lead to shrinking during baking.
4. Fill and Dot
Add the fruit mixture, including any accumulated juices. Dot the top with small pieces of butter to enrich the filling as it bakes.
5. Create the Lattice Top
Roll the second disk of dough and cut it into even strips. Lay half the strips across the pie in one direction. Fold back alternating strips, lay a new strip across the center, then unfold. Repeat, weaving the remaining strips to form a lattice pattern.
Trim excess dough and crimp the edges firmly to seal. Brush with egg wash and sprinkle with coarse sugar for that golden, lightly sparkling finish.
6. Bake for Structure and Color
Place the pie on a preheated baking sheet on a lower oven rack. According to King Arthur Baking’s pie guidance, baking on a lower rack helps the bottom crust cook through and brown, reducing the risk of a soggy base.
Bake until the crust is deeply golden and the filling is visibly bubbling in the center, not just at the edges. That bubbling is key—it signals that the thickener has activated.
7. Cool Completely
This is the hardest part. Let the pie cool fully before slicing. As it cools, the filling sets. Cutting too soon is one of the main causes of a runny slice.
Troubleshooting: Soggy Bottoms and Runny Filling
- Soggy bottom? Bake on a lower rack, use a fully preheated oven (and baking sheet), and avoid underbaking. Proper thickening and visible bubbling are essential.
- Runny filling? Make sure you’re using enough thickener for the amount of fruit and that the pie bakes long enough for the juices to thicken.
- Pale crust? Egg wash and adequate bake time help achieve that golden finish.
Serving Ideas
For clean slices, use a sharp knife and wipe it between cuts. Serve slightly warm or at room temperature. A scoop of vanilla ice cream or a spoonful of lightly sweetened whipped cream is classic—but the pie’s buttery crust and tender fruit can absolutely stand on their own.
Storage Tips
Once cooled, fruit pies can be kept at room temperature for a short period, loosely covered. For longer storage, refrigerate.
FoodSafety.gov’s core food-safety steps—clean, separate, cook, and chill—apply here, too. After serving, refrigerate leftovers within two hours. Store covered in the refrigerator and enjoy within several days.
To freeze, wrap the fully cooled pie tightly in plastic wrap and foil. You can also freeze an unbaked assembled pie; bake from frozen, adding extra time as needed. Reheat slices in a moderate oven to help re-crisp the crust.
Money-Saving Tip
Use a mix of apple varieties for balanced flavor and value. Combining a tart, firm apple with a sweeter, softer one stretches your budget and creates more depth in the filling. You can also fold in a portion of frozen fruit—just increase the thickener slightly to account for extra moisture.
A lattice-top pie looks intricate, but once you weave those first few strips, it becomes a rhythm. With a little patience—and a fully bubbling center—you’ll have a golden, sliceable fruit pie ready for the table.