
Rustic Artisan Bread with a Cracked, Golden Crust (Dutch Oven Method)
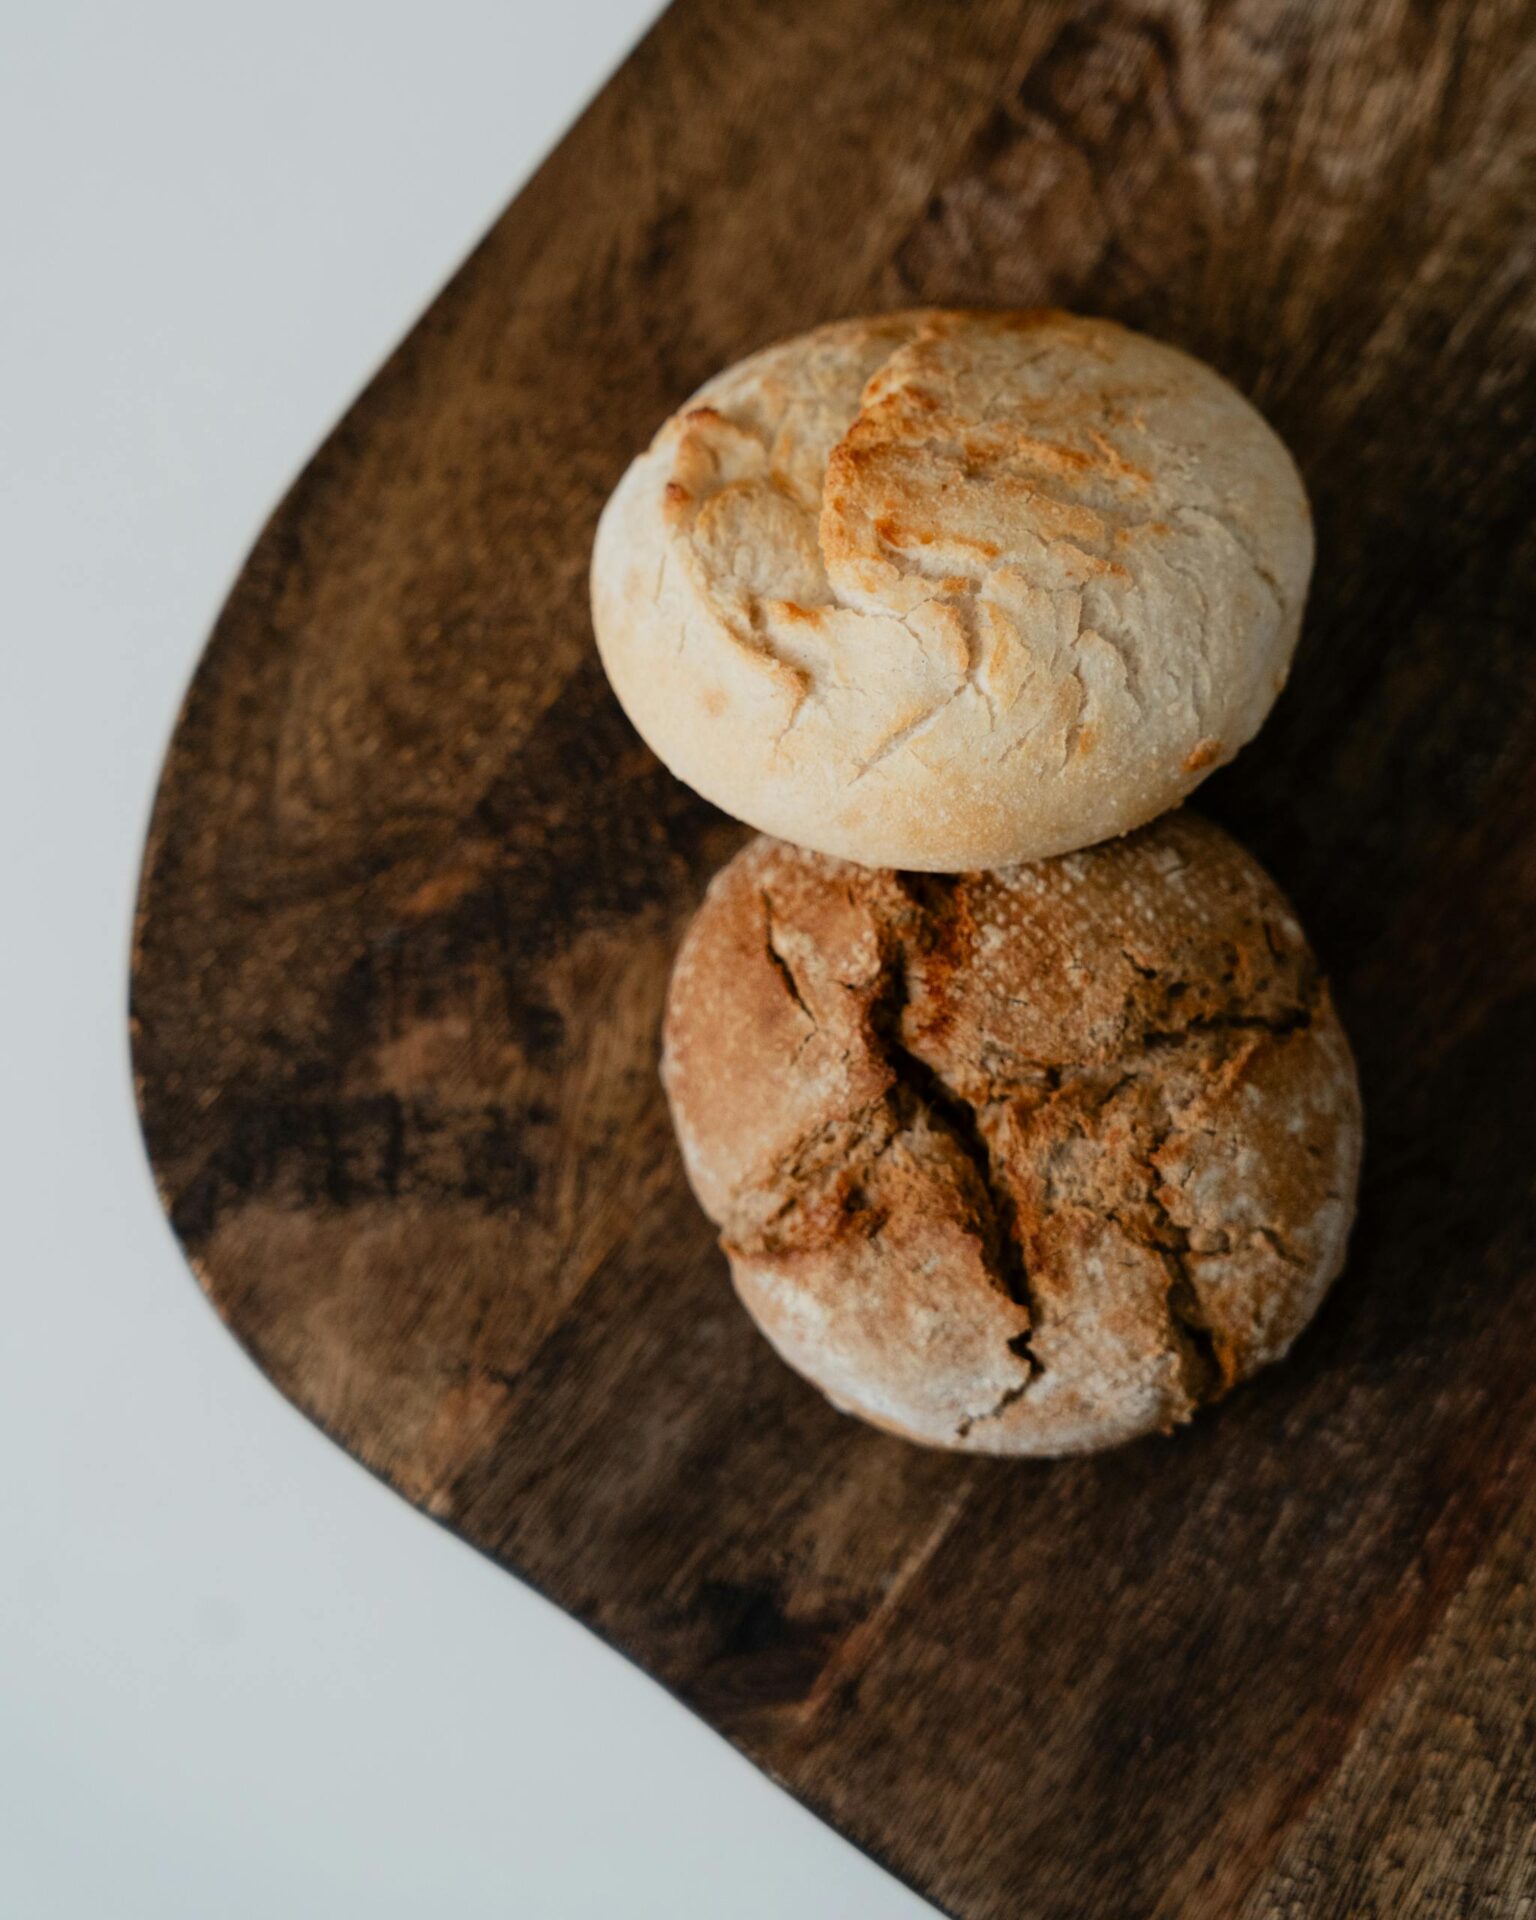
There’s something deeply satisfying about tearing into a loaf with a crackly, browned crust and a soft, open crumb. This rustic artisan bread uses a covered Dutch oven to trap steam for strong oven spring, then finishes uncovered for that deep golden color.
Recipe at a glance
- Yield: 2 small loaves (about 1 lb 4 oz each)
- Prep time: 25 minutes (active)
- Cook/bake time: 45–50 minutes
- Chill/rest time: 14–18 hours (overnight cold proof)
- Total time: about 16–20 hours
Ingredients
- Warm water: 1 1/2 cups (12 oz / 355 g), 75–80°F (24–27°C)
- Instant yeast: 1 1/2 teaspoons (or active dry yeast; see variation)
- Honey (or sugar): 1 tablespoon
- Olive oil: 2 tablespoons
- Bread flour: 3 1/2 cups (16 1/2 oz / 465 g)
- Whole wheat flour: 1/2 cup (2 1/4 oz / 64 g)
- Salt: 2 teaspoons
- Optional (for extra character): 2 tablespoons toasted sesame seeds or flaxseed
- For shaping (optional): rice flour or all-purpose flour, for dusting
Equipment notes: You’ll need a Dutch oven with a lid (6–7 quart works well) and parchment paper (optional but helpful) plus kitchen towels or a proofing basket substitute (a colander lined with a lightly floured towel works).
Instructions
- Mix the dough (10 minutes): In a large bowl, stir warm water, instant yeast, and honey until combined. Add olive oil. Add bread flour, whole wheat flour, and salt. Mix until no dry flour remains; the dough will be shaggy and tacky.
- Rest, then strengthen: Cover and rest 10 minutes. Then, do 6–8 “stretch and folds” in the bowl (pull one side up and over the dough, rotate the bowl, repeat). Cover again.
- Bulk rise (first rise): Let dough rise at room temperature for 60–75 minutes, until puffy and slightly expanded. It won’t double in volume like some yeasted doughs, but it should look aerated.
- Divide and pre-shape: Lightly flour your counter. Turn dough out and divide into 2 equal pieces. Gently shape each into a loose round (avoid aggressively deflating).
- Shape for loaves: For a rustic look, fold the dough like a letter and roll into a loose oval. Seam-side up, place each loaf into a floured bowl/basket lined with a towel (or on parchment-lined trays if you don’t have baskets).
- Cold proof (overnight): Cover and refrigerate 14–18 hours. The dough is ready when it looks slightly domed and airy, and it springs back slowly when gently poked.
- Preheat Dutch ovens: About 45–60 minutes before baking, preheat oven to 475°F (245°C). Put your empty Dutch ovens (with lids) inside while they preheat so they’re hot.
- Load and bake covered: Working one loaf at a time (to keep dough cool), remove one dough from the fridge. Carefully flip it onto a piece of parchment (if using) so it goes into the Dutch oven seam-side up. Cover with the lid and bake 25 minutes.
- Bake uncovered for color: Uncover and bake until the crust is a deep golden brown and sounds hollow when tapped, 20–25 minutes more.
- Check doneness: For the most reliable results, aim for an internal temperature of 190–205°F (88–96°C). If you don’t have a thermometer, rely on deep browning plus a loaf that feels set (not doughy) when you press lightly near the center.
- Cool completely: Transfer loaves to a rack and cool at least 1 hour before slicing. Cooling helps steam finish cooking inside so the crumb stays tender (not gummy).
Texture and doneness cues
- Proofing: dough should look puffy and expanded, not flat.
- Crust: deep golden brown with crackly ridges.
- Interior: tender and set; once cooled, it should tear without gummy stretch.
Tips for best results
- Use steam wisely: Keep the Dutch oven lid on during the covered portion for oven spring, then uncover to brown.
- Score gently: If you want more pronounced cracks, score the top just before baking. Even a simple shallow slash helps.
- Handle hot Dutch ovens safely: Wear oven mitts and set lids down on a heat-safe surface.
Variation / safe substitution
- No instant yeast? Use active dry yeast instead. Bloom it by mixing with the warm water and honey first; wait 5–10 minutes until foamy, then proceed with the recipe.
Serving ideas
- Slice thick and serve with salted butter, olive oil, or a quick tomato-basil salad.
- Pair with soup (tomato, white bean, or lentil) for an easy, cozy meal.
- Turn day-after bread into crisp croutons or a simple garlic-butter toast.
Storage notes
- Room temperature: Store cut-side down or wrapped in a clean kitchen towel for up to 2 days. For longer, wrap airtight.
- Re-crisping: To revive the crust, warm slices or halves in a 350°F (175°C) oven for 5–8 minutes.
- Freezing: Freeze cooled loaves (whole or sliced) wrapped well for up to 2 months. Thaw at room temperature, then re-crisp in the oven.
For technique details on covered baking and when to uncover for browning, this recipe follows the same practical steam-and-browning approach discussed by King Arthur Baking. For general safe food handling, keep storage and cooling consistent with FoodSafety.gov’s “when in doubt, don’t leave foods at unsafe temperatures” guidance—even though baked bread is low-risk, good kitchen hygiene still matters.
