
Rustic Round Artisan Bread (Plain Loaf) With Foolproof Bake Cues
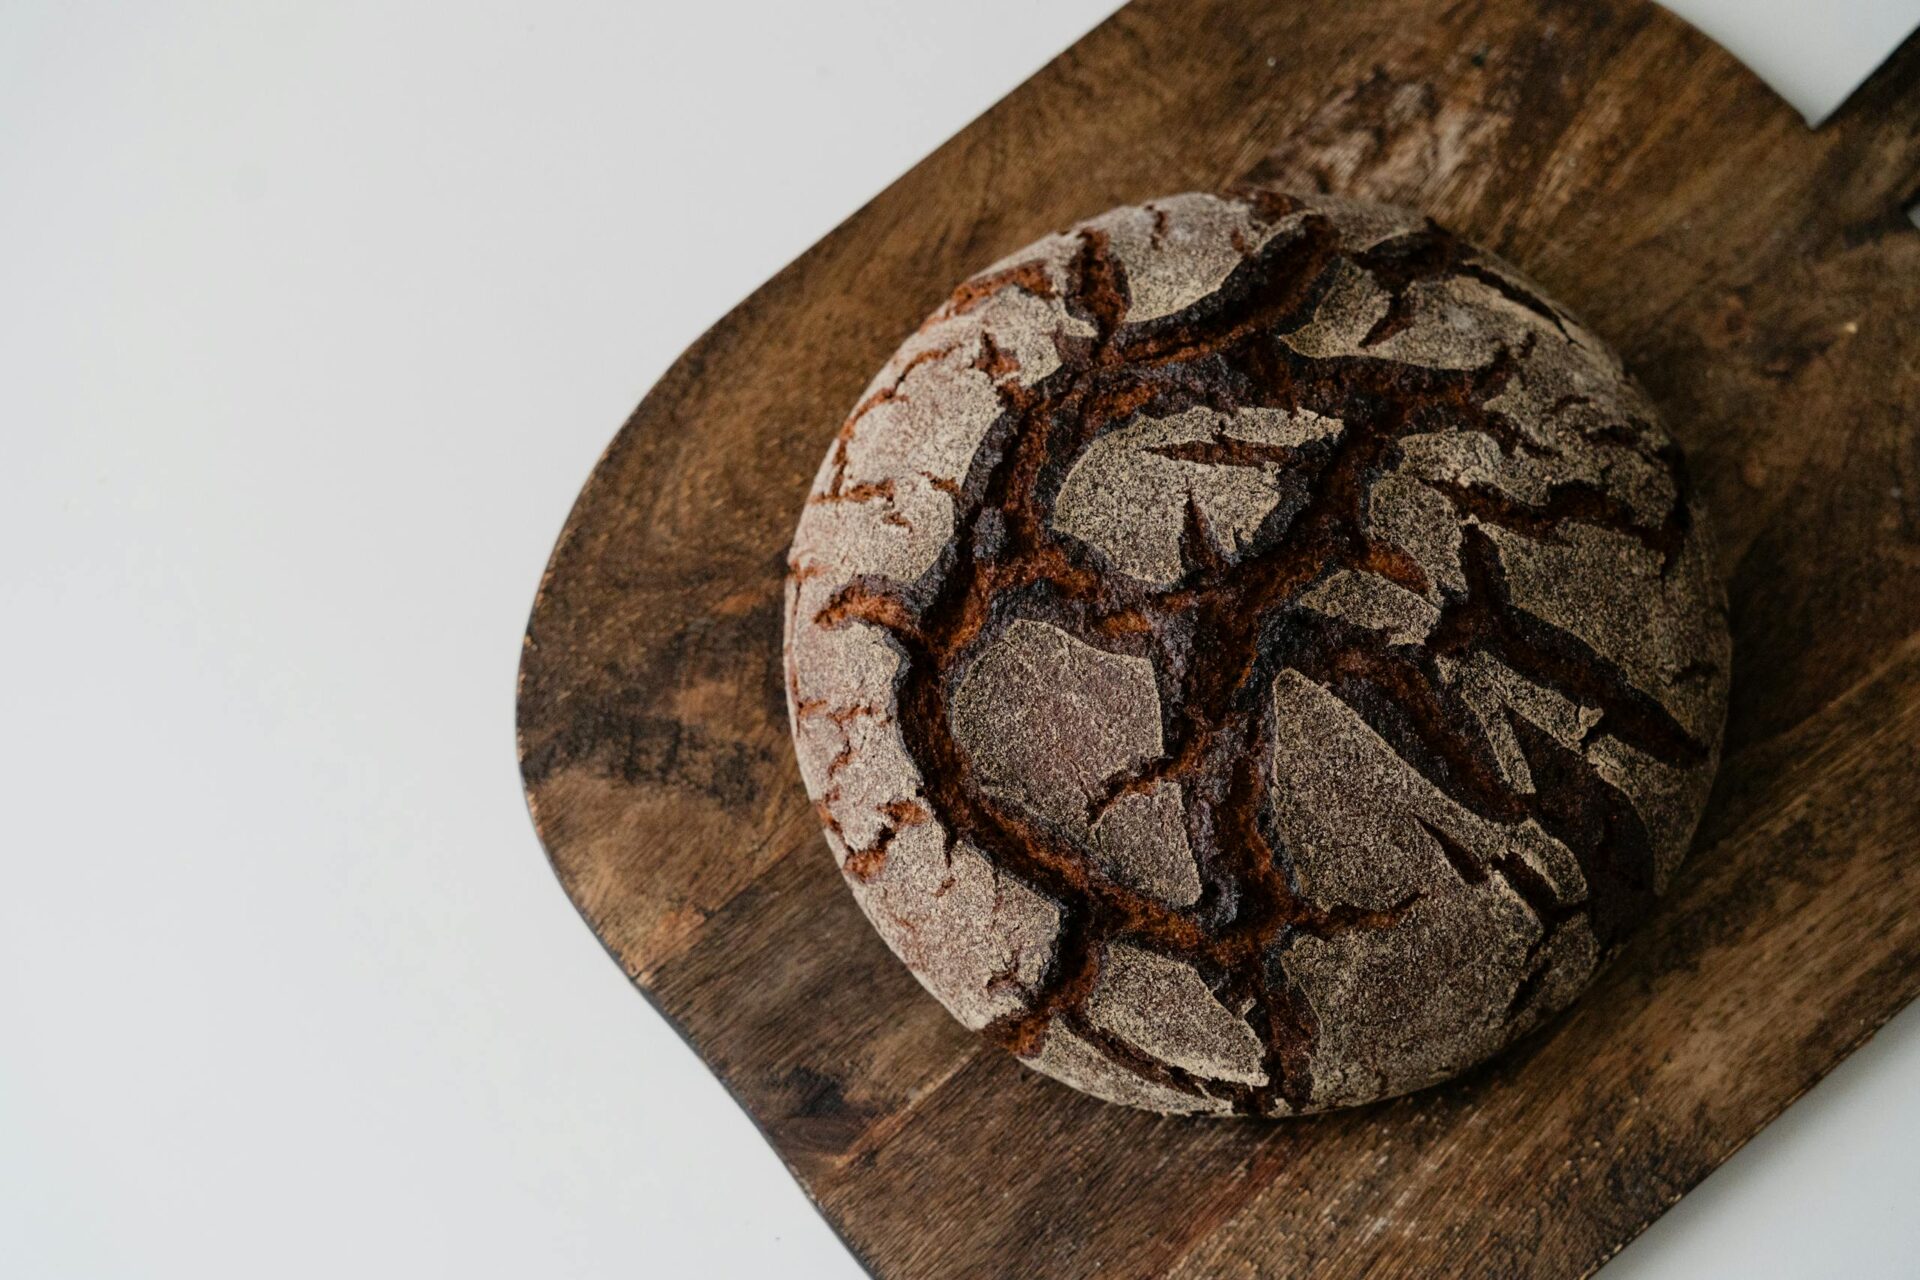
There’s something deeply satisfying about a simple, plain artisan loaf: flour-dusted crust, a crackly top, and a tender interior you’ll want to tear into right away. This rustic round bread is built for home ovens and guided with clear dough cues and foolproof doneness checks.
Recipe at a glance
- Yield: 1 rustic round loaf (about 1.5 pounds)
- Prep time: 20 minutes
- Cook/Bake time: 35 to 45 minutes
- Chill/Rest time: 12 to 18 hours (or up to 24 hours)
- Total time: 1 day 1 hour (plus cooling)
Ingredients
- Bread flour (or all-purpose flour): 500 g (about 4 cups), plus more for dusting
- Warm water: 360 g (1.5 cups), 85°F to 95°F
- Instant yeast: 2 tsp (about 7 g)
- Kosher salt: 11 g (about 1 3/4 tsp)
- Optional (for flavor and browning): 1 tsp sugar or 1 tbsp honey (skip if you prefer)
- For baking: Cornmeal or parchment paper (optional, for easier transfer)
Easy swap: Use all-purpose flour if that’s what you have. The loaf may be a touch less chewy, but still delicious.
Instructions
- Mix the dough (no-knead friendly): In a large bowl, combine warm water, yeast, and (if using) sugar/honey. Let sit 2 to 3 minutes, then stir in flour and salt. Mix until no dry flour remains. The dough will be shaggy and sticky—this is normal.
- First fermentation: Cover the bowl and let the dough rise at room temperature for 60 to 90 minutes, until it looks puffed and slightly aerated. If you press a fingertip lightly into the dough, it should spring back slowly, not instantly.
- Chill (develop flavor): Gently shape the dough into a rough ball in the bowl (no need for perfection). Cover tightly and refrigerate 12 to 18 hours. This slow fermentation helps flavor and structure.
- Shape the round loaf: When ready to bake, line a bowl or basket with a clean kitchen towel and dust generously with flour. Turn the dough out onto a lightly floured surface. Fold the edges toward the center to create surface tension, then flip seam-side down. Place into the prepared towel-lined bowl. Cover.
- Second rise: Let the dough sit at room temperature until slightly puffy and visibly risen, about 45 to 75 minutes (timing varies by room temperature). The dough should look airy, but still hold its shape.
- Preheat the oven and pot: About 30 minutes before baking, preheat your oven to 475°F. Place a Dutch oven with lid inside to preheat. (This steam-and-enclosure method helps the crust stay crisp.) Use oven mitts carefully—both pot and lid will be extremely hot.
- Score the top: Carefully transfer the dough onto parchment (or directly into the Dutch oven if you’re confident). Score the top with a sharp blade at a shallow angle, about 1/2 inch deep. A single bold slash works well for a round loaf.
- Bake: Carefully remove the Dutch oven. Lower the loaf in (with parchment if using). Cover and bake 20 minutes. Remove the lid and bake an additional 15 to 25 minutes, until deep golden brown.
- Doneness cues (use both):
- Visual: A well-baked crust is evenly browned with a crackly, dry surface.
- Sound/feel: The loaf should feel lighter than you expect. If you tap the bottom, it often sounds hollow.
- Thermometer (best): Check the center with an instant-read thermometer. Bake until the internal temperature reaches 190°F to 210°F for yeast bread.
Cooling matters: Let the loaf cool at least 1 hour before slicing. Cutting too soon can make the crumb gummy because steam is still finishing its work inside.
Tips & troubleshooting
- Dough too sticky to shape? Wet your hands slightly and use flour on the work surface, not inside the dough.
- Loaf won’t rise much after shaping? Your yeast may be old, or the kitchen is cold—give it extra time, but watch for over-proofing (dough that collapses when poked).
- If your crust browns too fast: Loosely tent with foil during the uncovered portion.
Serving ideas
- Rip into pieces for butter and flaky salt.
- Slice thick for toast, then top with jam, honey, or olive oil.
- Serve alongside a hearty soup, chili, or a simple tomato salad.
- Make sandwiches with your favorite deli meats or roasted vegetables.
Storage notes
- Cool completely before storing.
- Room temperature: Keep wrapped in a clean towel or in a paper bag for up to 2 days for best crust.
- Next-day freshness: For a crisper crust, re-warm in a 350°F oven for 5 to 8 minutes.
- Refrigerator: Not recommended for more than a day—bread can dry out faster.
- Freezing: Slice (or freeze whole once cool), wrap well, and freeze up to 2 months. Thaw at room temperature, then re-crisp in the oven.
For safe food handling, keep in mind the basics of cooling and storage from FoodSafety.gov—especially if you’re serving bread alongside perishable toppings.
