Easy Layered Sponge Cake Dessert Cups with Cream, Shredded Cheese, and Cherries
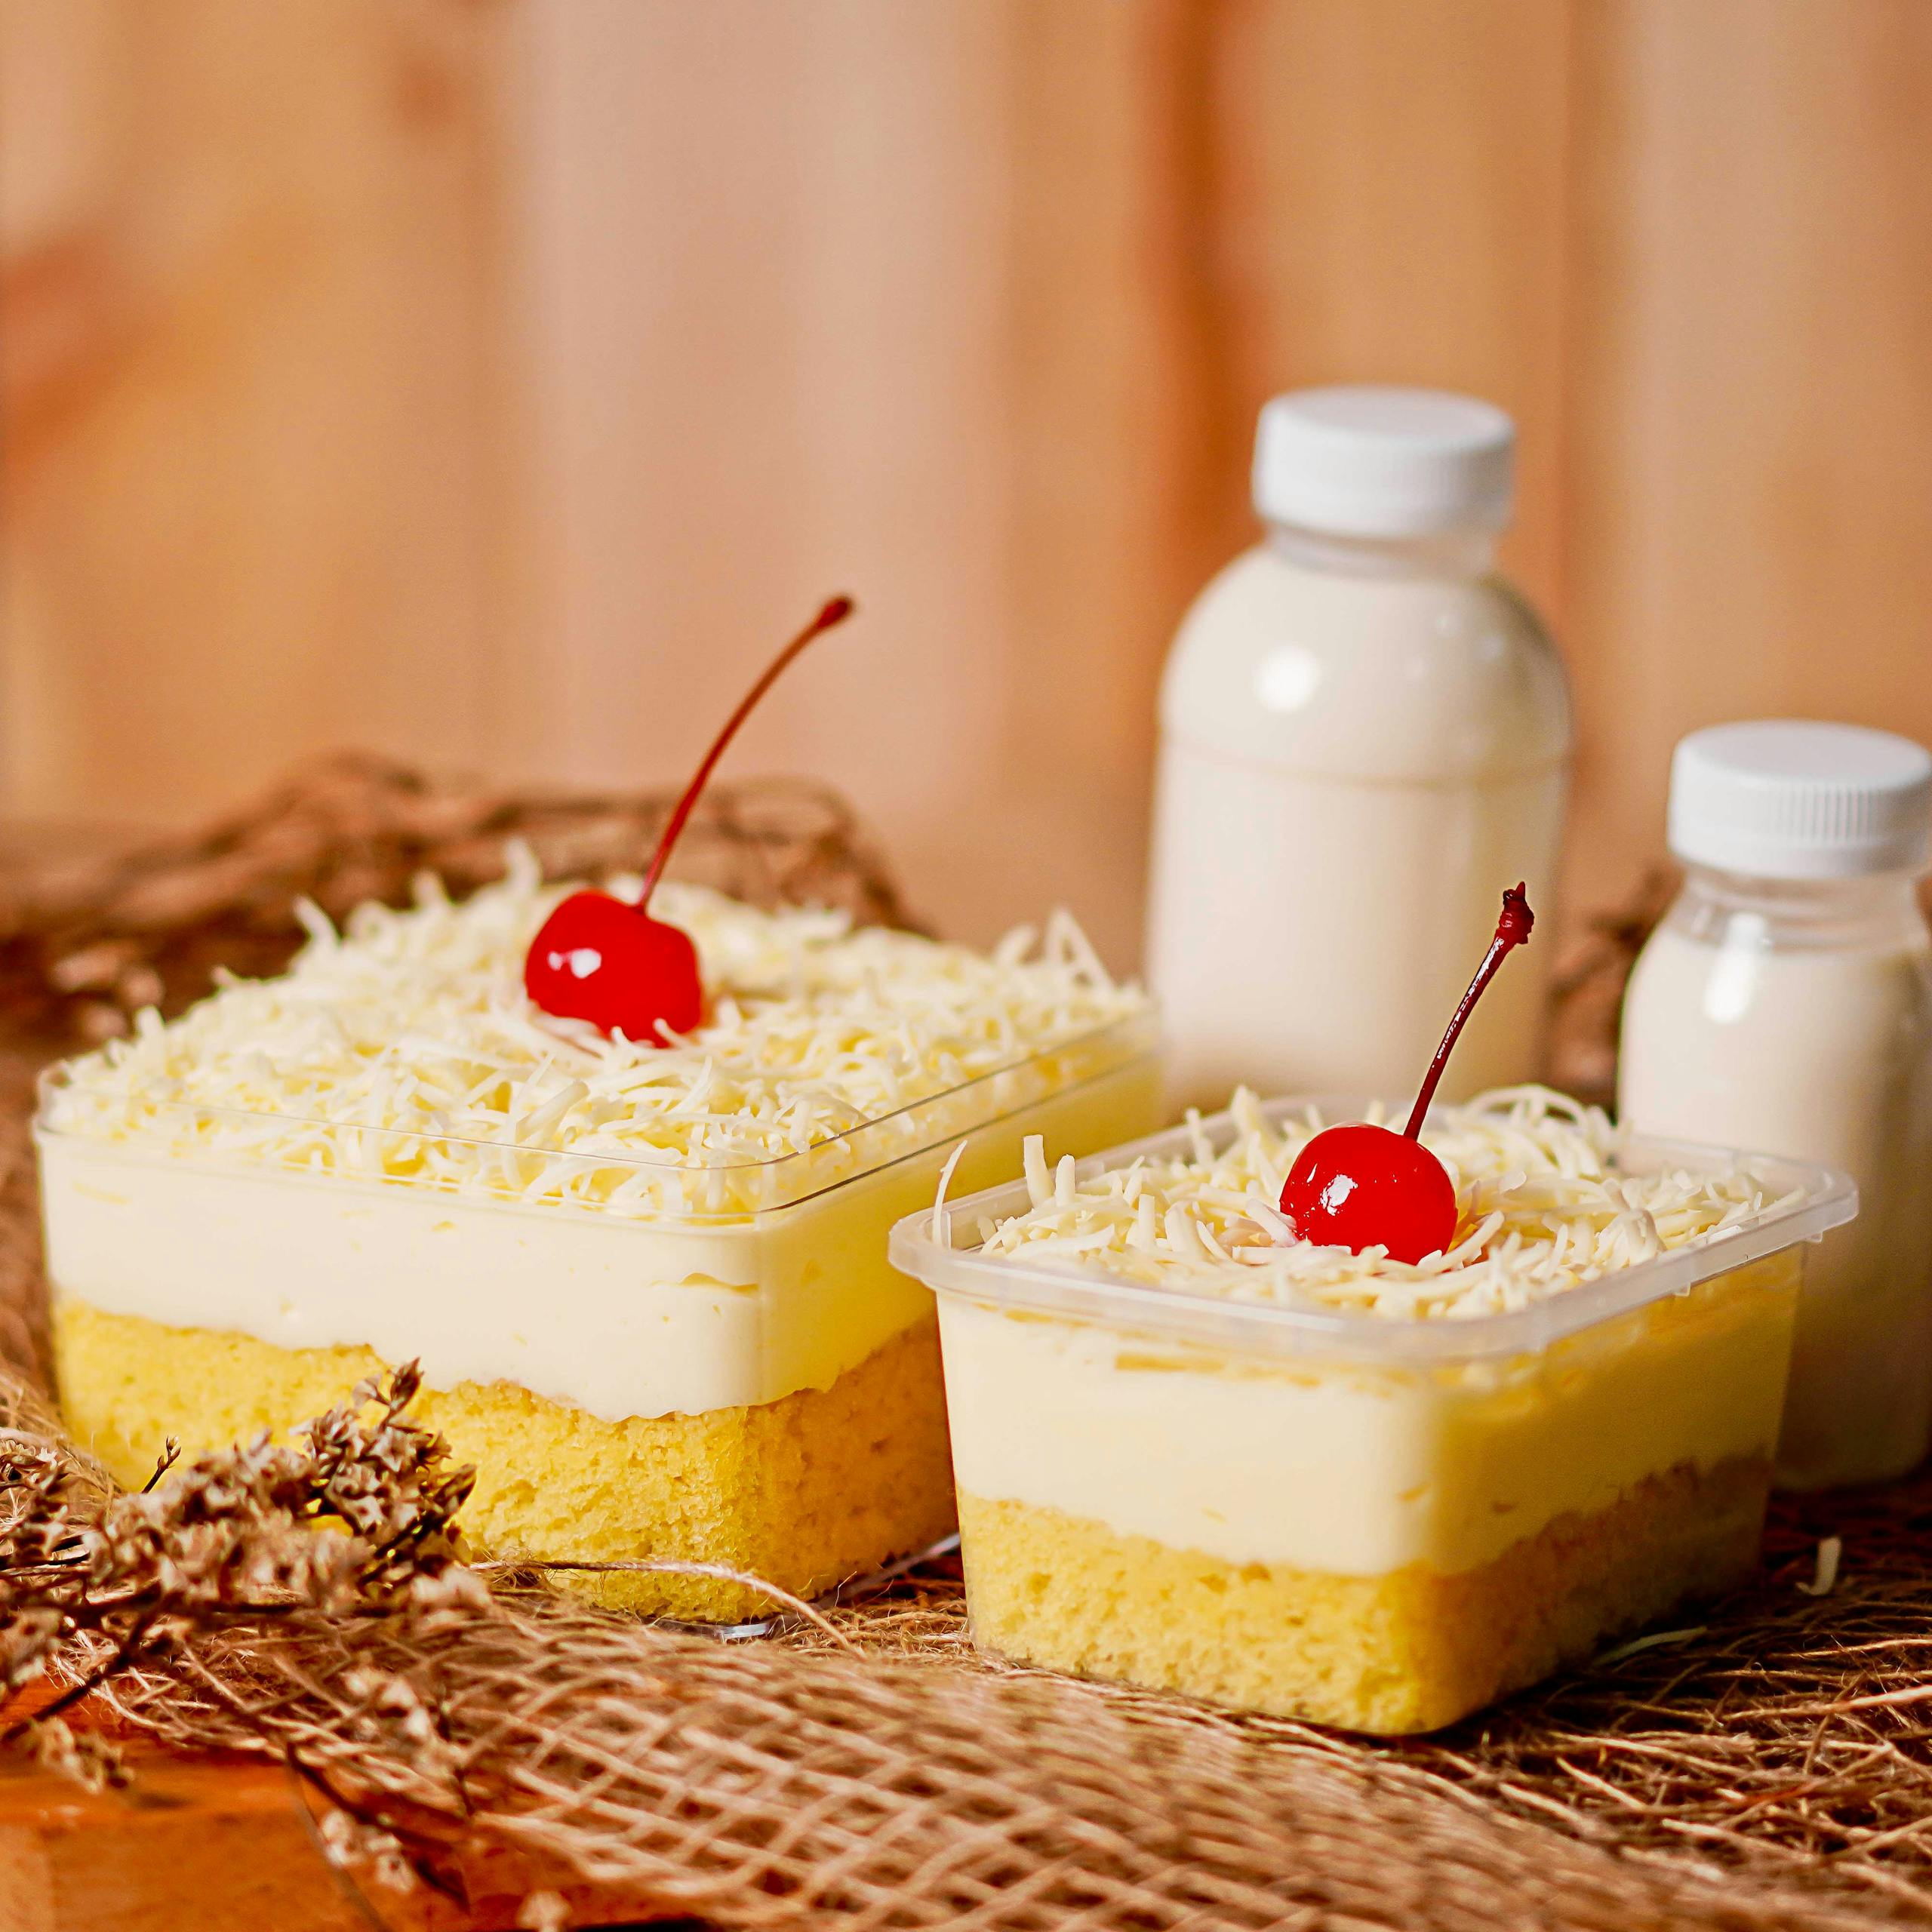
Individual dessert cups are one of my favorite ways to serve cake at a gathering. They’re easy to portion, simple to transport, and feel just a little bit special. Inspired by the image above, these layered sponge cake dessert cups feature tender cake cubes, a creamy topping, a fine shower of mild shredded cheese, and a cherry on top.
The beauty of this recipe is flexibility. You can bake your own sponge-style cake or use a good-quality store-bought cake. The cream layer can be softly whipped cream or a lightly sweetened cream cheese mixture. The goal is contrast: soft cake, smooth cream, a delicate savory note from the cheese, and a bright pop from the cherry.
Ingredients
- Sponge-style cake, baked and cooled (homemade or store-bought). A classic hot milk cake or similar sponge works well because it’s sturdy yet tender enough to cube cleanly. King Arthur Baking’s hot milk cake is a reliable example of this style.
- Cream layer (choose one):
- Lightly sweetened whipped cream (heavy cream + sugar + vanilla), or
- A whipped cream cheese mixture (cream cheese beaten smooth, lightly sweetened, and loosened with a bit of cream).
- Finely shredded mild cheese (such as a mild cheddar or other gently flavored cheese), for topping.
- Maraschino cherries, drained well.
Equipment: Clear plastic or glass dessert cups, a serrated knife for cubing cake, and a piping bag or zip-top bag for neat layering (optional but helpful).
How to Make It
1. Bake or buy the cake
If baking from scratch, choose a sponge-style cake that slices cleanly and isn’t overly moist. According to King Arthur Baking’s cake guide, proper mixing and baking help create structure so cakes hold their shape when cut into cubes. Let the cake cool completely before slicing to prevent tearing.
Cut the cake into small, even cubes—about 1 inch is ideal for tidy layers.
2. Prepare the cream layer
For whipped cream: beat cold heavy cream with a small amount of sugar and vanilla until soft to medium peaks form. Avoid overbeating; you want it smooth and spoonable, not stiff or grainy.
For a cream cheese version: beat softened cream cheese until smooth, add a bit of sugar to taste, then blend in a splash of cream until light and spreadable.
3. Layer the cups
Start with a layer of cake cubes at the bottom of each cup. Gently press to create an even base without compacting too much.
Add a layer of cream, spreading or piping it to the edges so you can see a clean line through the cup. Repeat with another layer of cake and cream if your cups are tall enough.
4. Finish with cheese and cherries
Top each cup with a light sprinkle of finely shredded mild cheese. The key is a fine shred—this keeps the topping delicate rather than heavy.
Place one well-drained maraschino cherry on top. Maraschino cherries are typically preserved in a sweet syrup, as listed in USDA FoodData Central, so draining them helps prevent excess liquid from seeping into the cream.
Serving Ideas
- Birthday parties: Set up a small topping station with extra cherries or chocolate shavings so kids can customize.
- Baby or bridal showers: Use clear cups to show off the layers and keep portions neat.
- Potlucks and church suppers: Transport in a cooler with ice packs and keep chilled until serving.
- Family dinners: Make a smaller batch in reusable glass jars for a weeknight treat.
Serve chilled for the cleanest texture and best contrast between cake and cream.
Storage Tips
Because these cups contain dairy-based cream, refrigeration is essential. Store them covered in the refrigerator at 40°F or below.
FoodSafety.gov recommends discarding perishable foods left out at room temperature for more than 2 hours (or 1 hour if the temperature is above 90°F). Keep dessert cups chilled until just before serving, especially at outdoor gatherings.
You can assemble the cups up to 24 hours in advance. For the freshest look, add the shredded cheese and cherries a few hours before serving so they stay bright and tidy.
Money-Saving Tip
Use leftover sheet cake or trimmed cake scraps instead of baking a new cake. Even slightly uneven pieces work beautifully once cubed and layered. If you’re stretching the dessert for a crowd, add an extra layer of whipped cream and slightly smaller cake cubes—guests will still see those pretty layers, and you’ll make the most of what you already have.
With a simple formula—cake, cream, cheese, cherry—you can adjust flavors to the season or what’s in your pantry. It’s a flexible, party-ready dessert that feels thoughtful without being fussy.