Mini Fruit Cheesecakes with Glossy Fruit Topping
Mini cheesecakes are one of the easiest ways to serve a dessert that feels special without making a full-sized cake. Each portion bakes, chills, and serves neatly on its own, which makes these little cheesecakes a smart choice for brunch, showers, family dinners, or a weeknight treat when you want something polished but practical.
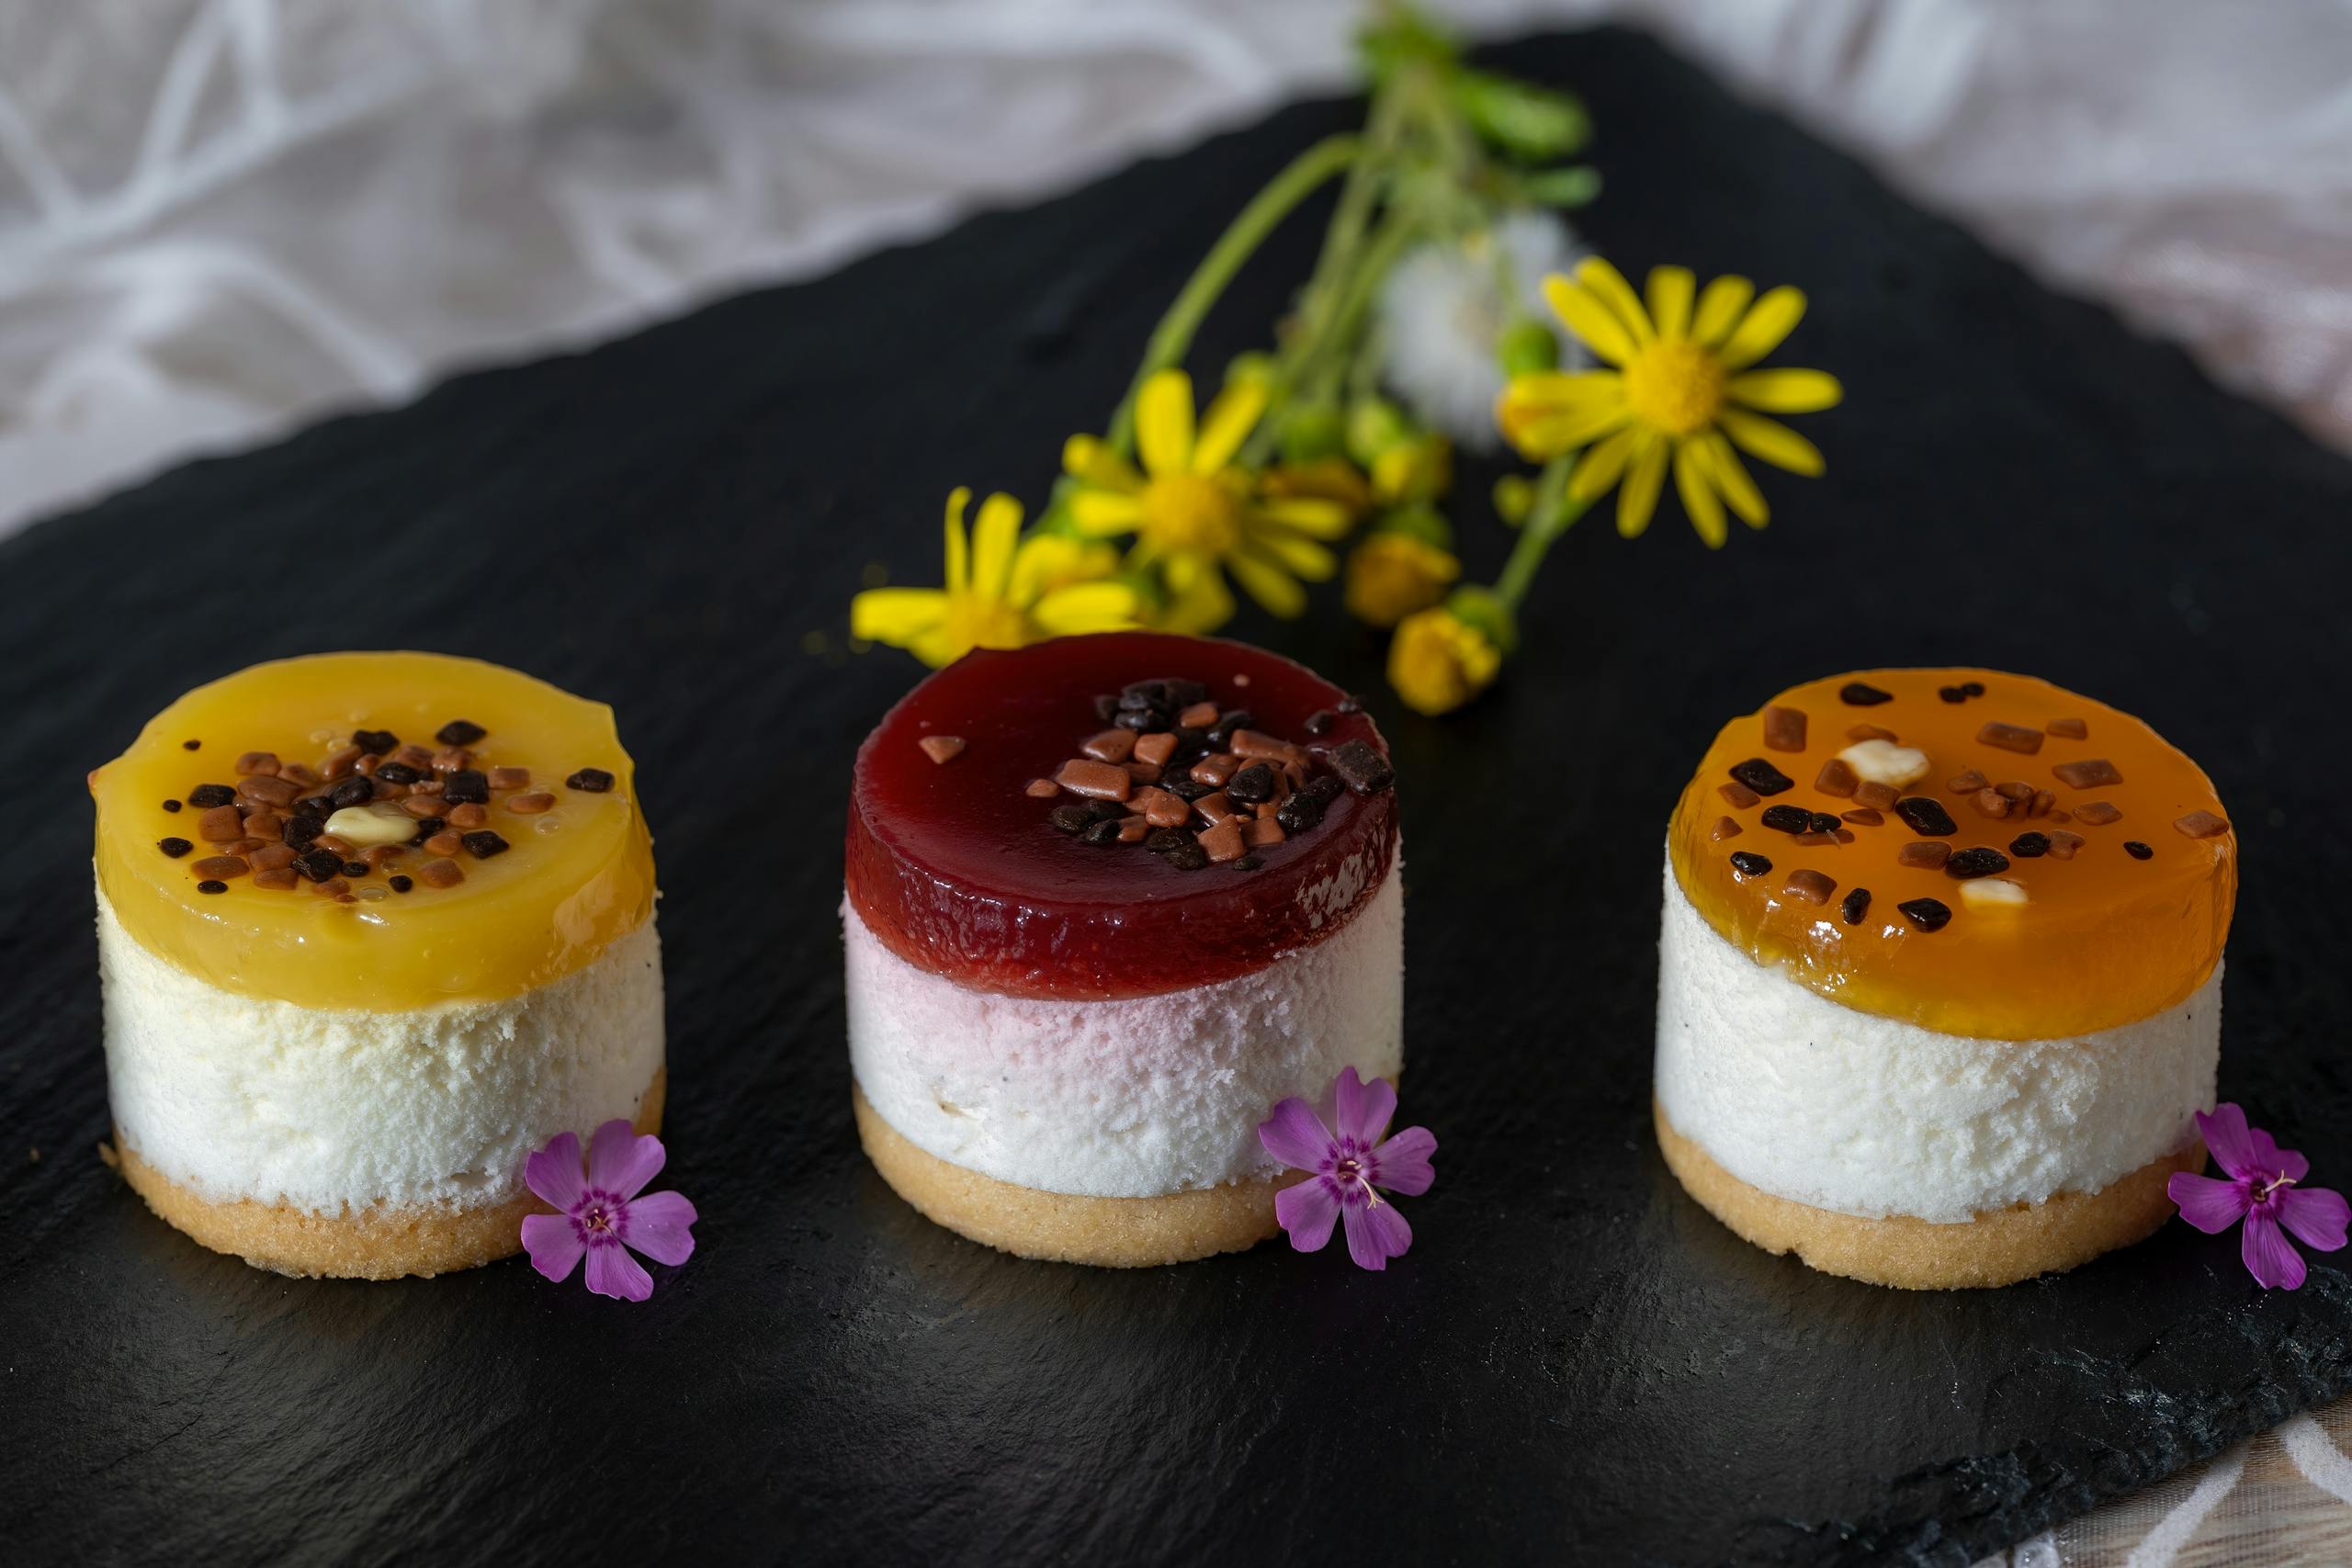
This version keeps the method simple: a crumb crust, a smooth cheesecake filling, and a glossy fruit topping spooned over the top after chilling. You can lean into whatever fruit looks good at the market, from berries to stone fruit to a mixed fruit topping. The result is a dessert that tastes fresh, looks colorful, and can be made ahead with very little fuss.
What you need
For the crust, use a fine crumb that presses together easily with melted butter and a little sugar. Graham cracker crumbs are classic, but digestive biscuit crumbs or vanilla wafer crumbs work well too. For the filling, start with cream cheese, sugar, vanilla, eggs, and a touch of sour cream or plain yogurt for extra richness and a softer texture.
The topping can be as simple as fruit simmered briefly with a little sugar and cornstarch until glossy. Strawberries, raspberries, blueberries, cherries, peaches, apricots, or a mix of fruits all work. If you want a cleaner finish, choose fruit with a bit of natural tartness, since it balances the sweet filling nicely.
An optional garnish of mint or edible flowers can add a fresh look, but keep it simple and only use flowers that are known to be safe for food service.
How to make mini fruit cheesecakes
1. Prepare the crust. Mix the crumbs, melted butter, and sugar until the mixture feels like damp sand. Press it firmly into the bottom of mini cheesecake pans, muffin cups, or a lined mini tart pan. A compact crust helps each cheesecake hold together cleanly when served.
2. Mix the filling. Beat the cream cheese until smooth before adding the sugar and vanilla. Add the eggs one at a time, mixing just until combined. Stir in the sour cream last. The key is to keep the batter smooth without whipping in too much air, which can lead to cracks or a puffy texture.
3. Bake and cool. Spoon the filling over the crusts and bake until the centers are just set but still have a slight wobble. Let the cheesecakes cool gradually, then chill them until firm. If you prefer a no-bake style, you can adapt the filling with whipped cream or gelatin, but the baked version gives you the most classic cheesecake flavor and texture.
4. Make the fruit topping. Cook the fruit with sugar just until it releases juices and turns glossy. If needed, thicken lightly with a cornstarch slurry so the topping sits neatly on each cheesecake instead of running off the sides. Let it cool before spooning it over the chilled cheesecakes.
5. Finish and serve. Add the fruit topping shortly before serving for the freshest look. If you want a little extra contrast, a few fresh berries or a tiny mint leaf on top can make the desserts feel bakery-worthy without much effort.
Helpful make-ahead tips
Mini cheesecakes are especially useful because they hold well in the refrigerator. You can bake the crust and filling a day or two ahead, then add the fruit topping the day you plan to serve them. That keeps the topping bright and helps the crust stay crisp.
Nutrition.gov recommends keeping dairy-based leftovers refrigerated promptly and stored cold. For best quality, cover the cheesecakes well and keep them in the refrigerator until ready to serve. If you are taking them to a gathering, use a chilled carrier or insulated bag so they stay out of the temperature danger zone for as little time as possible.
Serving ideas
These minis fit almost anywhere: a spring brunch spread, a summer cookout dessert tray, or a holiday table where you want individual portions instead of slicing a cake. They also work well for kids and guests who prefer smaller desserts. Because they are portioned ahead of time, there is less cleanup and less chance of a messy first slice.
For a flavor twist, try lemon zest in the filling, orange zest for a brighter aroma, or a vanilla-bean version with berries on top. You can also swap the fruit topping to match the season: strawberries in early summer, peaches in midsummer, and mixed berries when you want a fast, colorful finish.
Storage
Store leftover mini cheesecakes in a covered container in the refrigerator and enjoy them within a few days for the best texture and flavor. If you are planning farther ahead, freeze the plain baked cheesecakes without topping, then thaw them in the refrigerator before adding fruit. That gives you an easy dessert base to finish whenever you need it.
With a simple crust, a creamy filling, and a glossy fruit topping, these mini cheesecakes offer a reliable dessert template you can return to all year long.