Berry-Topped Cheesecake with Chocolate Drizzle
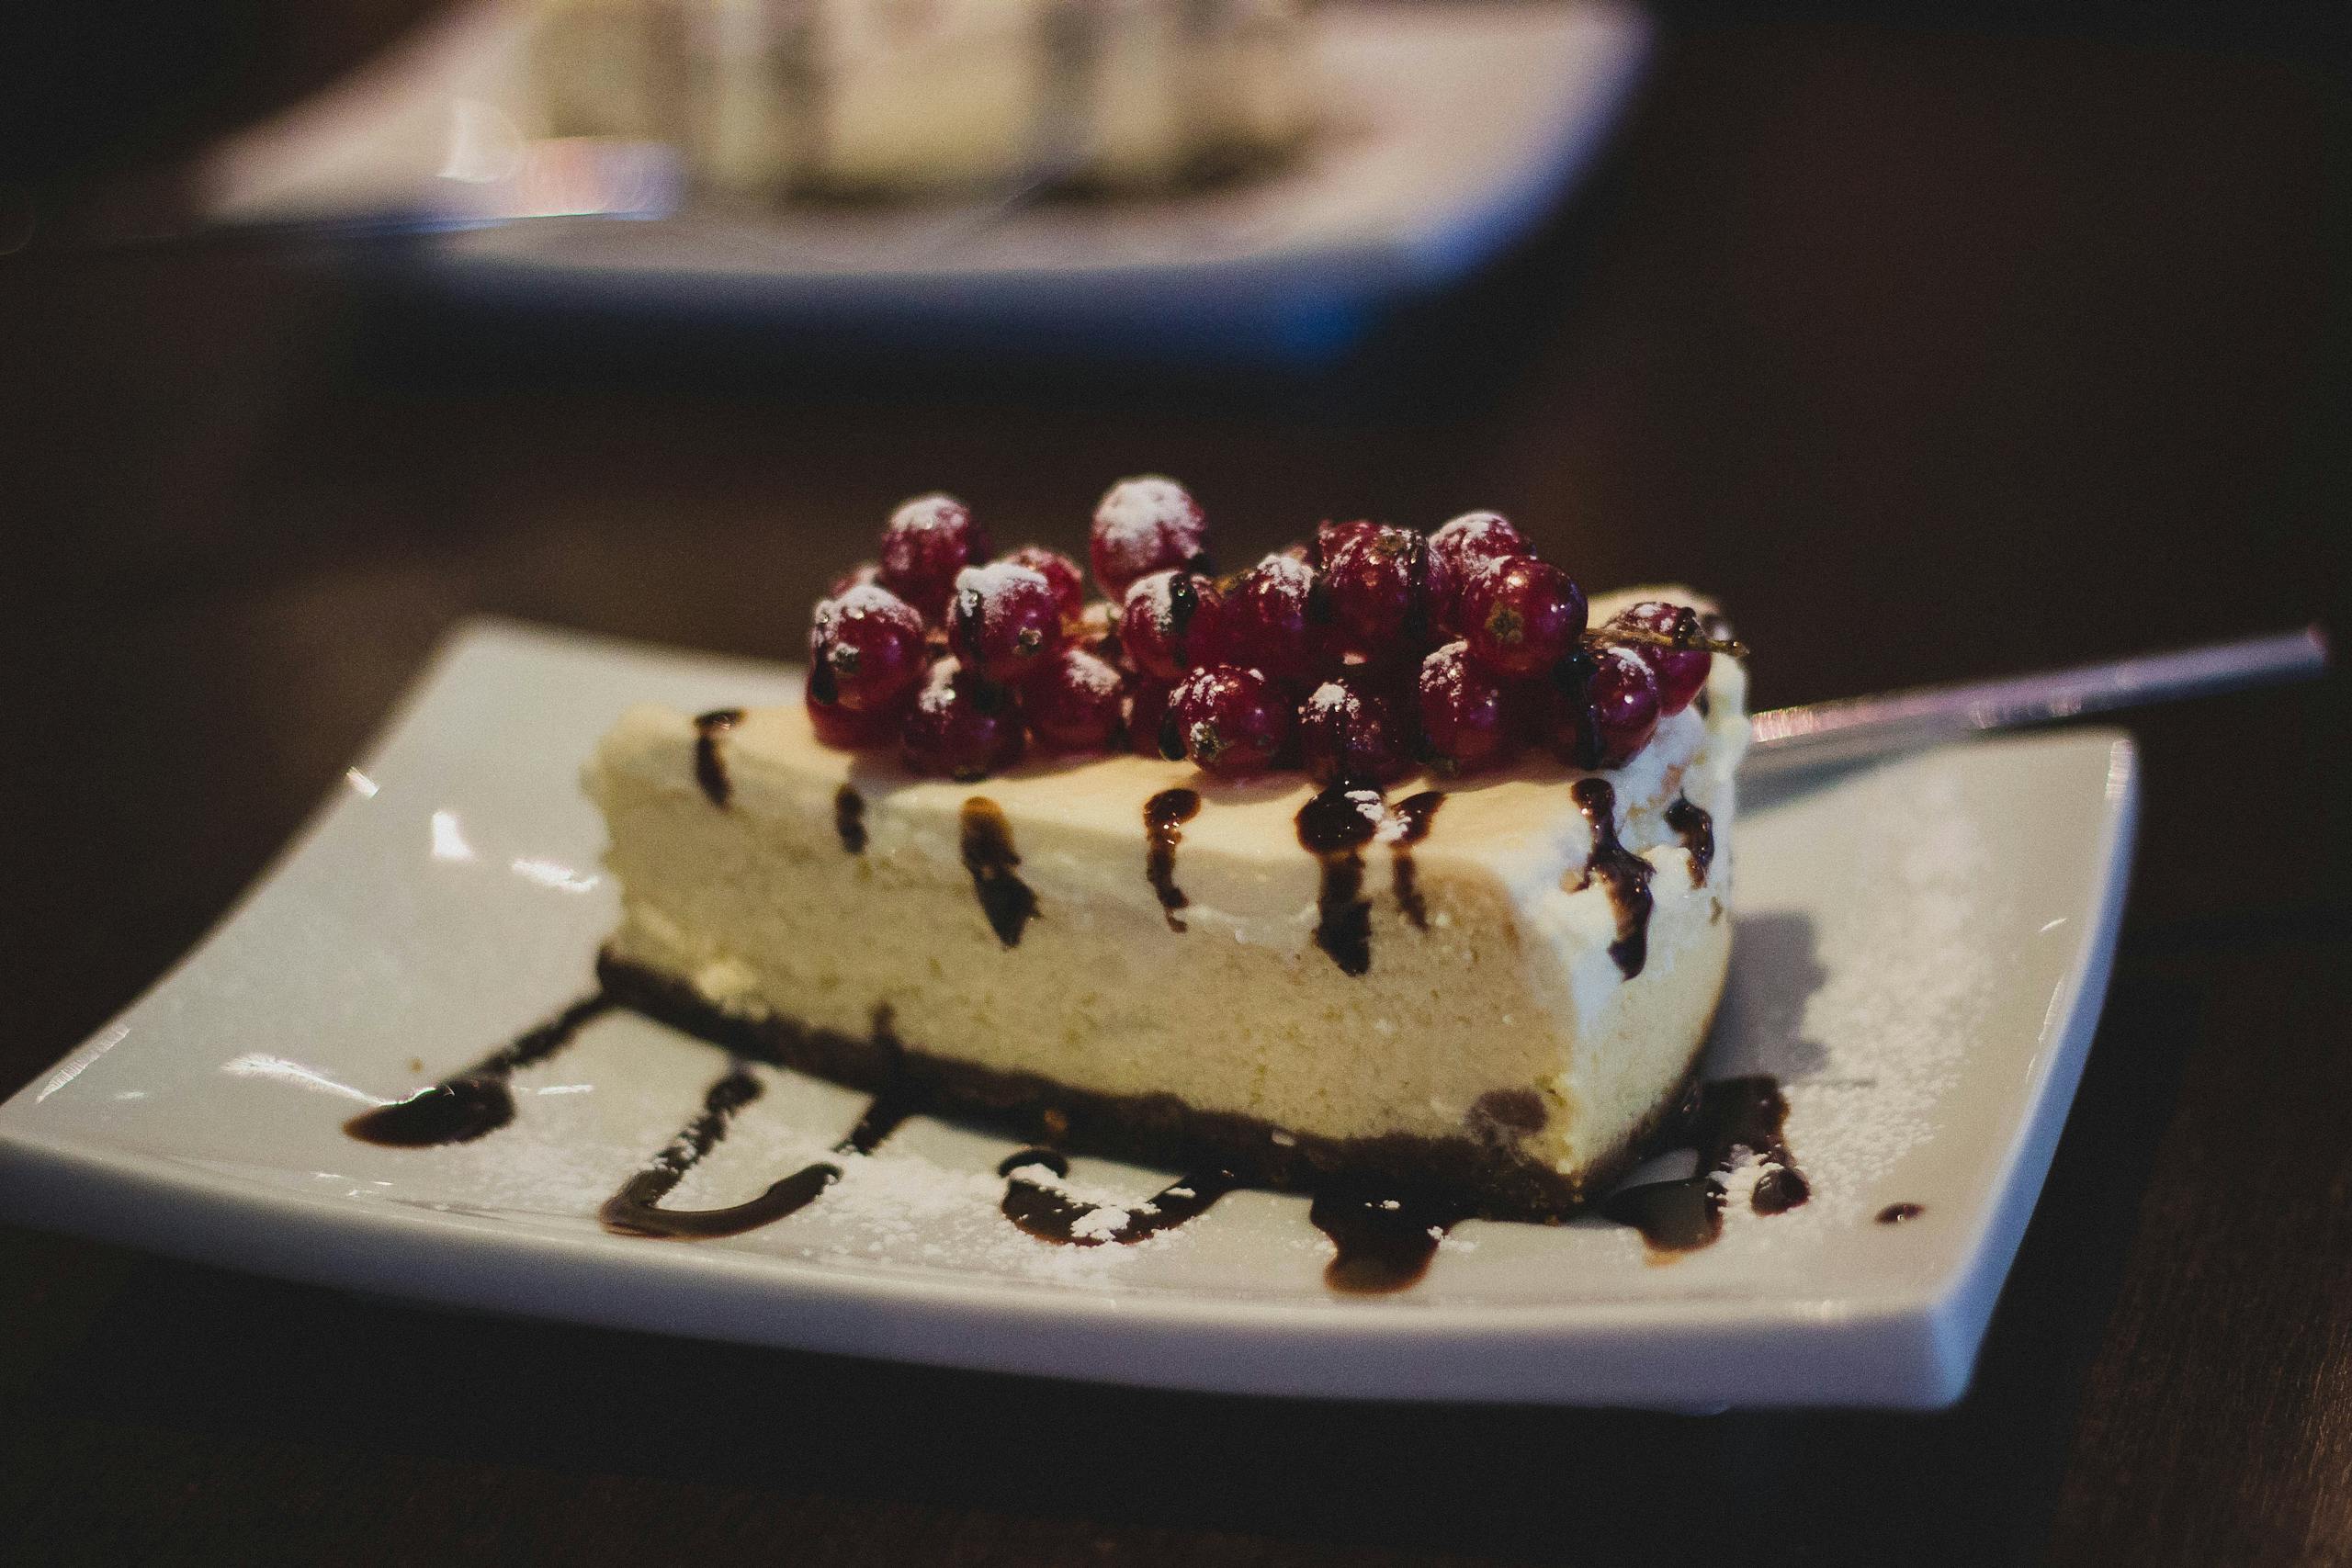
A cheesecake slice dressed with berries and chocolate drizzle is one of those desserts that looks polished without needing fancy technique. The key is starting with a well-chilled cheesecake, adding fruit at the right moment, and finishing with chocolate just before serving so every slice stays neat.
This version keeps the base simple: a classic plain cheesecake with a crisp crust, topped with a mix of fresh berries and a light chocolate drizzle. You can bake it in a springform pan or use individual slices from a larger cheesecake, which makes it a flexible dessert for dinner guests, birthdays, or a weekend treat.
What you need
- A plain cheesecake, fully chilled
- A crisp crust made from your preferred graham cracker or cookie base
- Mixed berries such as strawberries, raspberries, blueberries, or blackberries
- Chocolate for drizzling, melted until smooth
If you want to keep the fruit topping looking fresh, choose berries that are firm and dry. Smaller berries can be left whole, while strawberries can be sliced or quartered for easier spooning over each piece.
How to make it
- Prepare the cheesecake. Bake or assemble your favorite plain cheesecake and chill it thoroughly until firm. A well-chilled cheesecake slices more cleanly and helps the crust stay intact.
- Keep the crust crisp. Once the cheesecake is cold, remove it from the pan only when you are ready to slice and serve. If you are making it ahead, store it covered in the refrigerator and add fruit at the last minute.
- Prepare the berries. Rinse berries gently and dry them very well. Excess moisture can soften the cheesecake surface and make the topping slide.
- Slice neatly. Use a long, sharp knife dipped in hot water and wiped clean between cuts. This makes cleaner edges and helps each piece hold its shape on the plate.
- Add the berries. Spoon a small handful of mixed berries over each slice, letting a few fall naturally beside the cheesecake for a relaxed plated look.
- Finish with chocolate. Melt chocolate until smooth, then drizzle it over the berries in thin ribbons. Add the drizzle just before serving so it stays glossy and defined.
Serving tips
For the cleanest presentation, plate the slice first and then add the garnish. If you want a more bakery-style finish, place a few berries on one side of the slice and drizzle the chocolate lightly across the top rather than soaking the fruit. A small mint leaf can add color, but it is optional.
This dessert works well with a cup of coffee, after a simple supper, or as part of a holiday dessert spread. If you are serving a crowd, slice the cheesecake after it has had plenty of time in the refrigerator so each piece is firm and easy to transfer.
Storage notes
Cheesecake keeps best when stored covered in the refrigerator. For the freshest result, hold the berries separately if you are making the dessert more than a few hours ahead, then top the slices just before serving. Chocolate drizzle can be made in advance and gently reheated if needed.
If you have leftovers, store the cheesecake in an airtight container or wrap it well so it does not pick up other fridge odors. The crust will stay at its best for a couple of days, though the fruit topping is usually nicest on day one.
Easy variations
You can swap in whatever berries look best at the market: strawberries and raspberries for a bright, tangy finish; blueberries and blackberries for a deeper flavor; or a mix of all four for color and variety. For the drizzle, use dark chocolate for a more bittersweet contrast or white chocolate for a softer, sweeter look.
If you like a little extra shine on the berries, a light glaze can help them look fresh longer. That is especially useful when serving cheesecake on a dessert platter or buffet table.
However you serve it, the formula stays the same: a chilled cheesecake, a crisp crust, fresh berries, and chocolate added at the end. It is simple, attractive, and easy to adapt to what you already have in the kitchen.