
Homemade Katsu Curry with Crisp Breaded Cutlets and Rich Curry Sauce
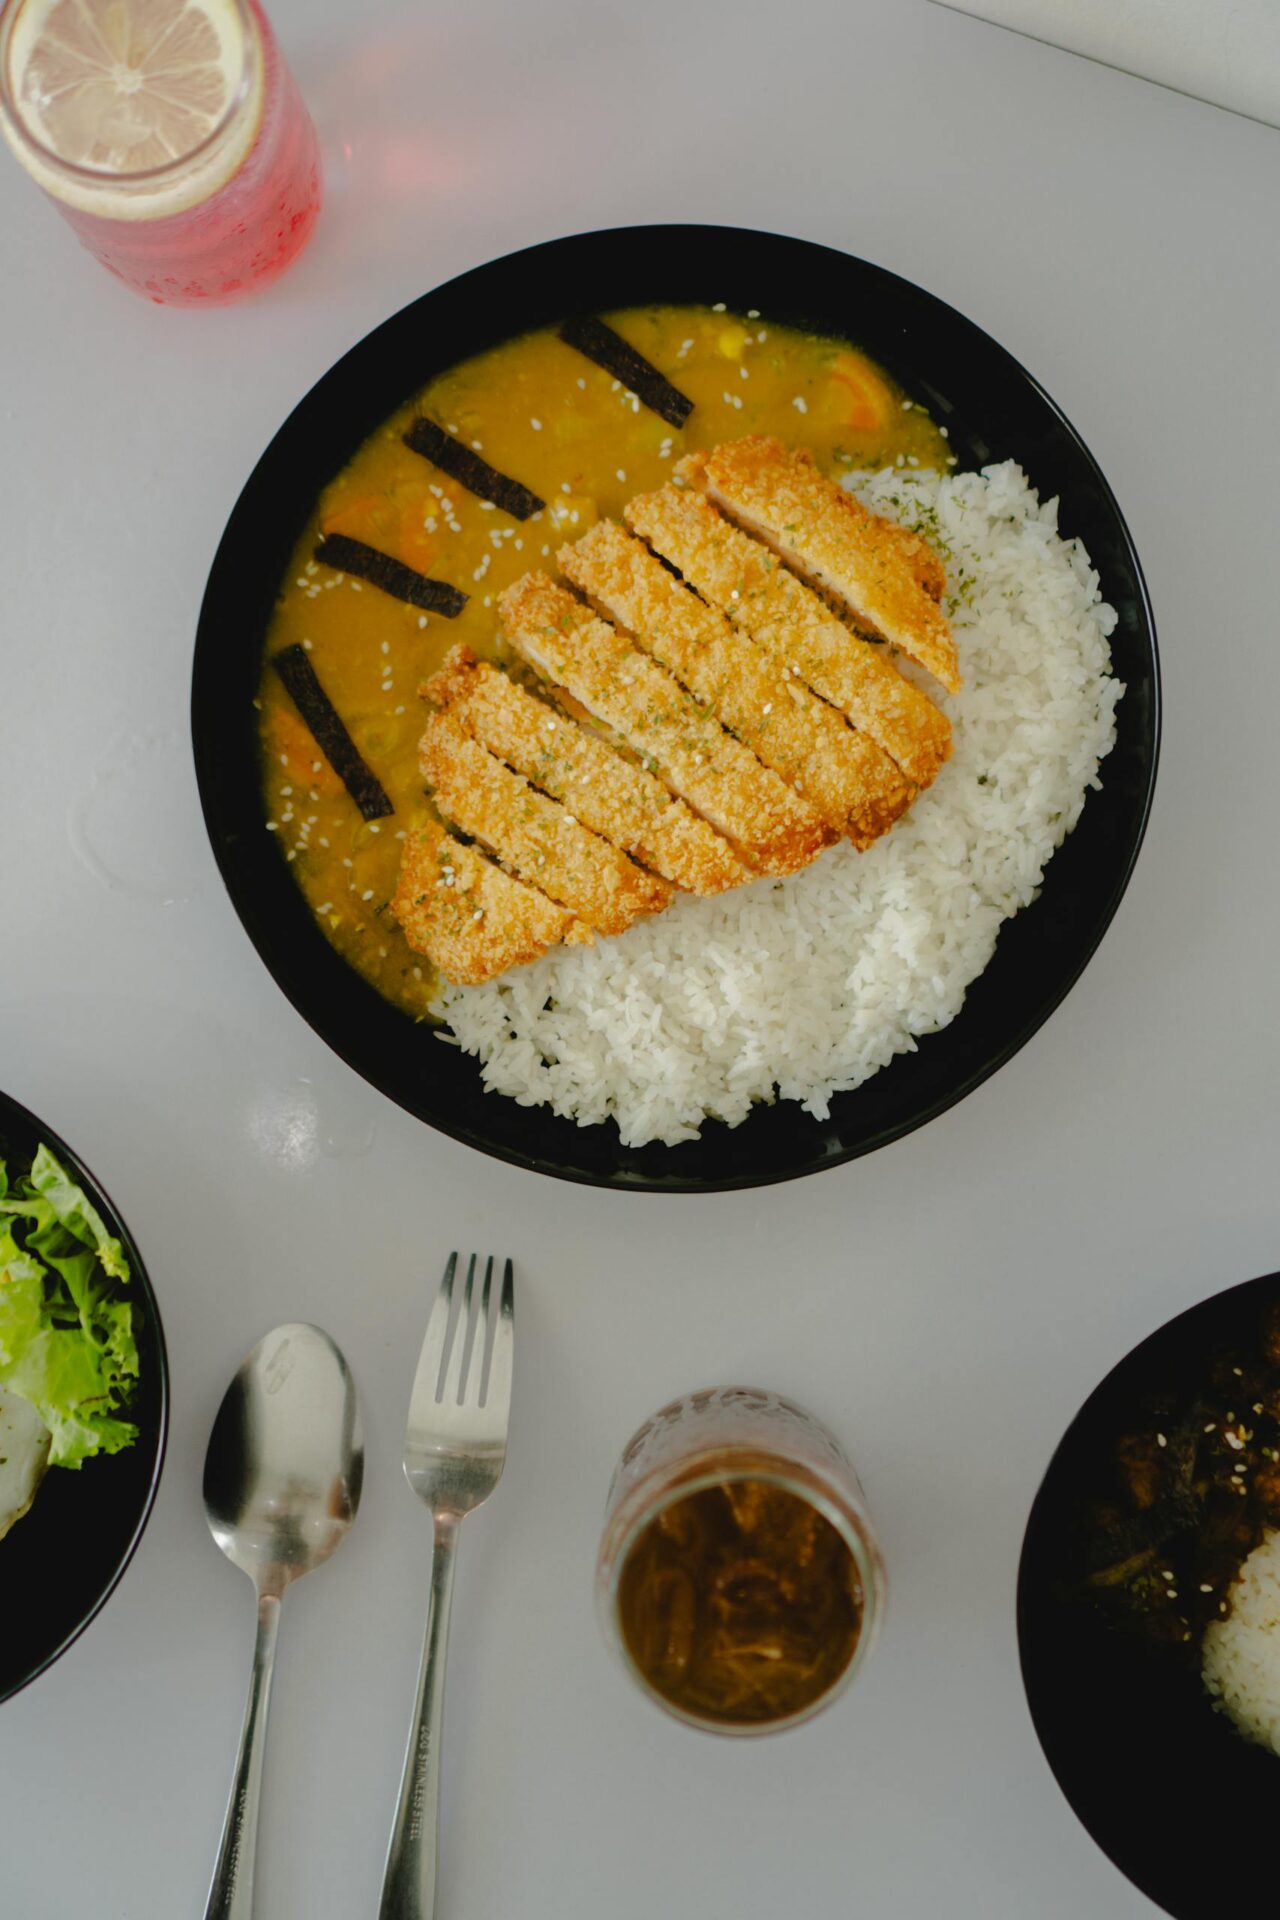
Japanese katsu curry is pure comfort: shatter-crisp breaded cutlets, ladled over fluffy rice, then finished with a warm, savory-sweet curry sauce. This homemade version is built for home kitchens—easy pantry swaps, clear texture cues, and a simple timing plan so your cutlets stay crisp when you assemble.
Recipe at a glance
- Yield: 4 servings
- Prep time: 20 minutes
- Cook time: 30 minutes
- Total time: ~50 minutes
Ingredients
Cutlets (katsu)
- 1 1/4 lb (about 1-inch thick) boneless pork cutlets or chicken cutlets, trimmed
- Salt and black pepper
- 1/2 cup all-purpose flour
- 2 large eggs
- 1 cup panko breadcrumbs
- Neutral oil for frying (about 2 inches deep in a skillet)
- Optional for extra crunch: 1–2 tbsp cornstarch mixed into the flour
Quick Japanese-style curry sauce
- 2 tbsp neutral oil
- 1 small yellow onion, finely diced
- 2 medium carrots, peeled and diced (about 1 cup)
- 3 cloves garlic, minced
- 1 tbsp grated fresh ginger (or 1 tsp ground ginger)
- 2 tbsp all-purpose flour (for thickening)
- 3 tbsp curry powder (adjust to taste; see variation)
- 1 tbsp tomato paste
- 4 cups chicken or vegetable broth
- 2 tsp soy sauce
- 2 tsp brown sugar or honey
- 1/2 tsp grated apple (optional, for gentle sweetness)
- 1–2 tbsp cornstarch slurry, as needed (1 tbsp cornstarch + 1 tbsp cold water)
Serve with
- 3 cups cooked white rice (about 1 1/2 cups uncooked)
- Optional toppings: sliced green onion, fukujinzuke/pickles, or shredded cabbage
Instructions
- Prep the cutlets: Pat meat dry. Season both sides with salt and pepper. Set up a breading station: flour in one bowl, beaten eggs in a second bowl, and panko in a third.
- Bread: Lightly coat cutlets in flour (shake off excess), then dip in egg, and press into panko until coated. For extra adherence, go back for a second thin egg dip and panko press (optional, but helps).
- Fry for crispness: Heat neutral oil in a deep skillet or Dutch oven to about 350°F. Fry cutlets in batches so oil temperature doesn’t drop. Cook about 4–6 minutes per side (time varies by thickness) until deeply golden and crisp and the center is cooked through. Transfer to a rack or paper towels briefly.
- Rest briefly: Rest cutlets 3–5 minutes so juices settle. This helps keep the crust from going soggy right away.
- Make the curry sauce: In a saucepan, warm 2 tbsp oil over medium heat. Cook onion and carrots until the onion softens and turns translucent, about 8–10 minutes. Stir in garlic and ginger for 30–60 seconds.
- Build flavor and thickness: Sprinkle in flour and curry powder, stirring constantly to toast slightly (about 1 minute). Add tomato paste and stir.
- Simmer: Slowly whisk in broth (to avoid lumps). Bring to a gentle simmer and cook 12–18 minutes, until carrots are tender and the sauce coats a spoon.
- Season to taste: Stir in soy sauce, brown sugar (and optional grated apple). Simmer 2 more minutes. If you want a thicker curry, stir in cornstarch slurry a little at a time until it reaches your preferred “pouring but clingy” consistency.
- Assemble: Spoon hot rice into bowls. Slice cutlets into strips. Ladle curry over rice, then add cutlets on top (or nestle them into the curry lightly). Serve right away.
Texture/doneness cues (so you nail it)
- Cutlets: Crust should be deep golden-brown and sound crisp when tapped. If it looks pale, keep frying a little longer; if it’s browning too fast, lower the heat.
- Curry: When you drag a spoon through the sauce, the line should briefly hold before slowly filling back in. If it’s thin, simmer longer; if it’s too thick, add broth.
Timing tip to keep the crunch
The curry can be made first and held gently on low heat. Fry cutlets last, then slice and assemble immediately. If you need to hold cutlets briefly, keep them on a rack at room temperature rather than stacking them in a pile.
Serving ideas
- Classic plate: Rice base + curry + cutlets on top.
- Extra crunch and contrast: Add shredded cabbage on the side (or under the rice) so it stays fresh.
- Pickle brightness: A small spoonful of fukujinzuke or chopped pickles wakes up the curry.
Storage notes
- Cool correctly: Let curry cool for no more than 2 hours at room temperature, then refrigerate promptly.
- Refrigerate: Store leftover curry and rice in airtight containers. For food-safety timing, FoodSafety.gov’s guidance covers refrigerator and freezer time limits for cooked leftovers.
- Cutlets: For best texture, store cutlets separately if possible. Refrigerated cutlets will soften; reheat using an oven or toaster oven to re-crisp.
- Reheating: Reheat curry until steaming hot throughout. For cutlets, reheat at 375°F on a rack until hot and crisp again (about 10–15 minutes, depending on thickness).
Swap ideas
- Protein: Swap pork for chicken cutlets (or try turkey cutlets). Adjust frying time slightly based on thickness.
- Less heat/more mild: Start with 2 tbsp curry powder and add more only if you want deeper curry flavor.
- Thicker, “roux-like” curry: Simmer longer before adding slurry, or add a little extra flour-curry mixture at the start (whisk thoroughly).
Note: If you prefer the traditional boxed curry roux, you can swap in your favorite Japanese curry roux per package instructions, then adjust thickness with a simmer or a small slurry as needed.
