
Mediterranean Charcuterie Board with Olives, Nuts, Grapes, and Citrus
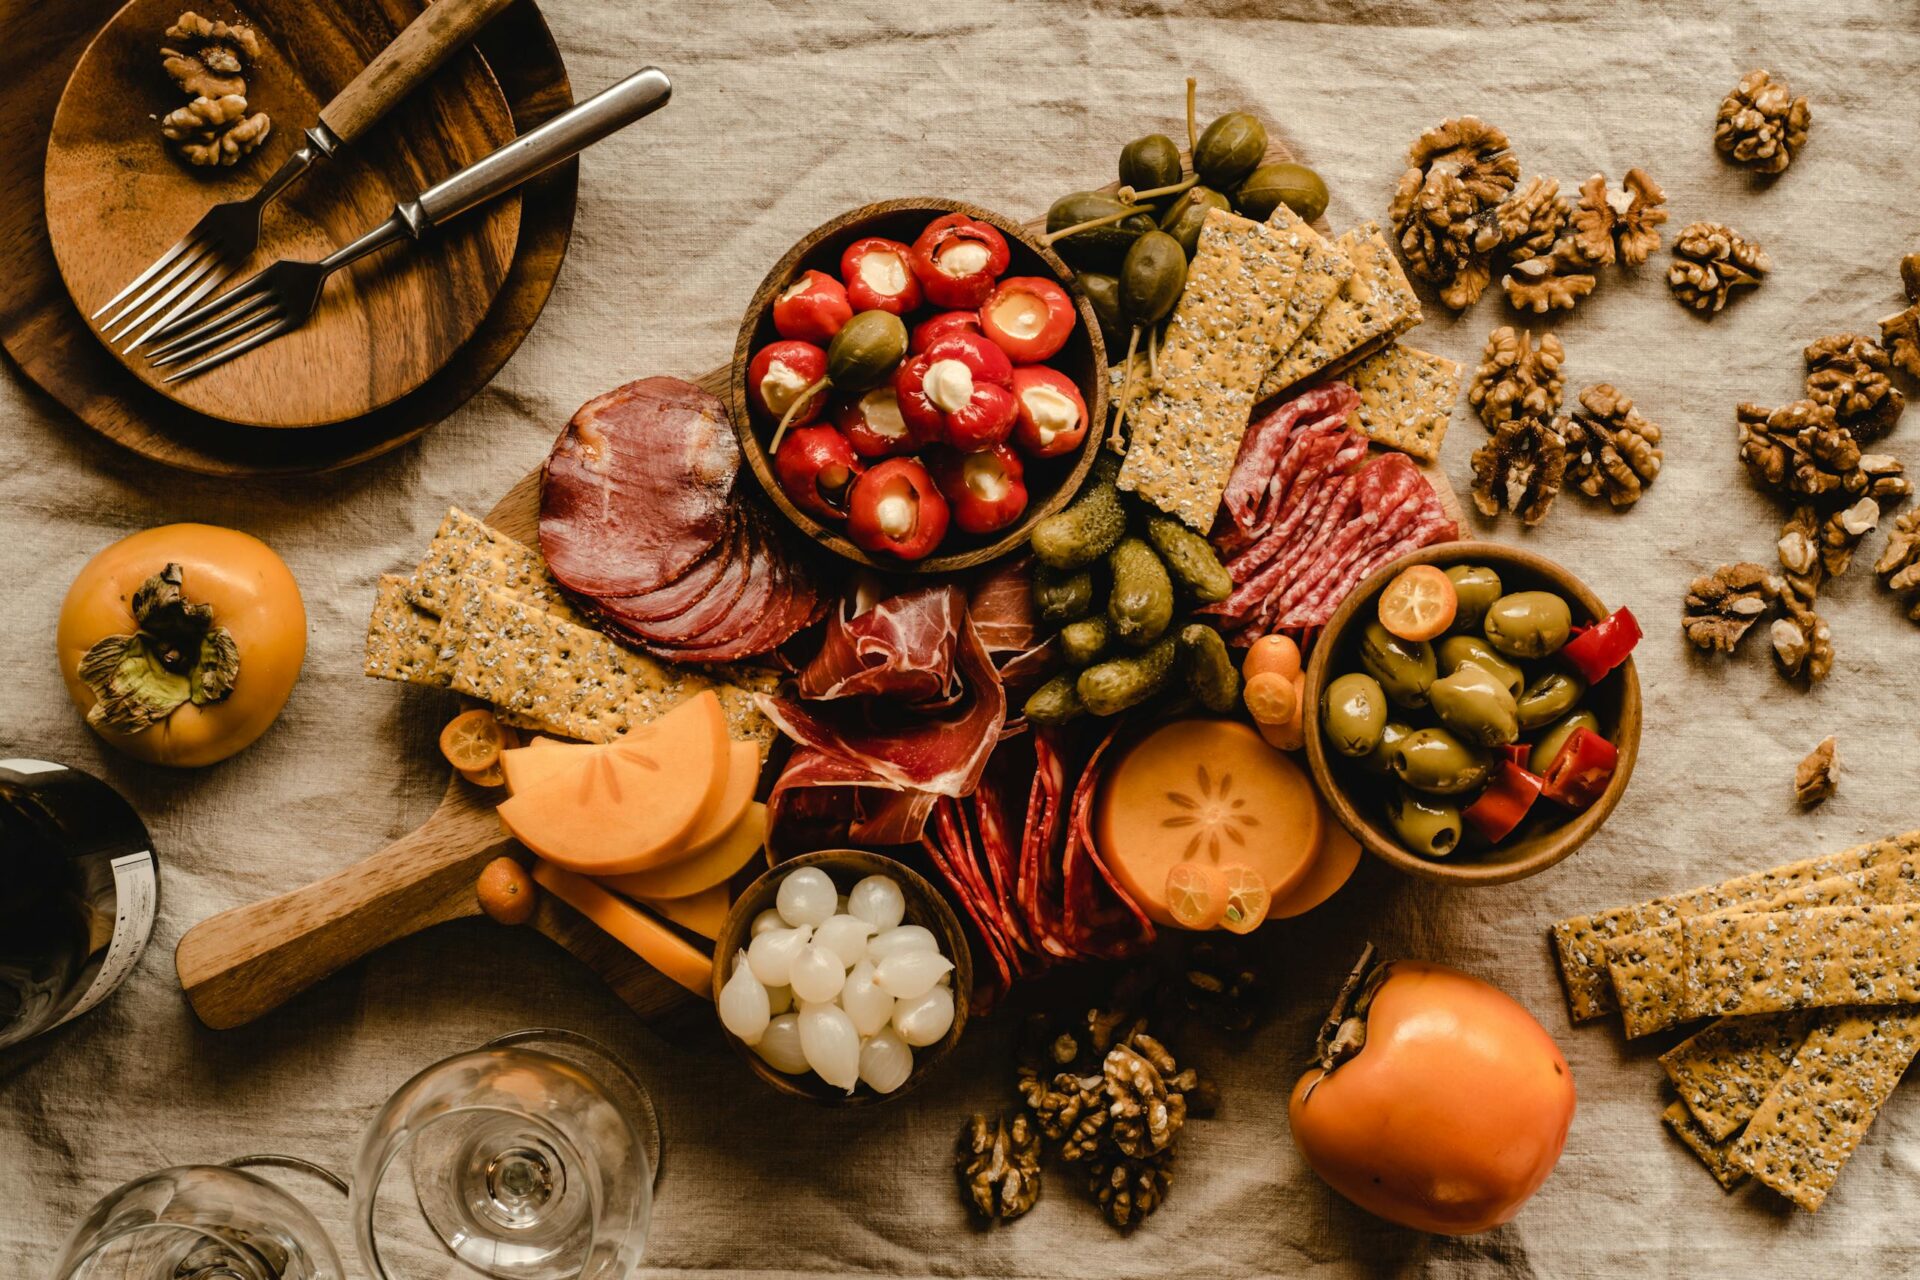
Think of this as a Mediterranean-inspired “grazing board”: salty d meats, creamy cheeses, briny olives, crunchy nuts, crisp crackers, and juicy grapes (plus a little citrus brightness). It’s the kind of spread that comes together in stages—so you can chill the perishable items, assemble close to serving, and keep everything tasting fresh.
Recipe at a glance
- Yield: Serves 6–8 as a main grazing spread (about 10–12 small bites per person)
- Prep time: 25 minutes
- Chill time: 2 hours (or up to overnight for best make-ahead results)
- Total time: 2 hours 25 minutes
Ingredients
Plan for about: 3–4 ounces d meats per person and 2–3 ounces cheese per person, plus a variety of “toppings” (olives, nuts, fruit) and crackers.
Core board
- d meats (assorted): 1 pound total (e.g., prosciutto, salami, soppressata, or a mild d sausage), sliced or folded
- Cheese (assorted): 12 ounces total (choose a mix of: one firm/grating cheese + one semi-soft or creamy cheese)
- Green olives: 1 (6–7 oz) jar or can, drained (include a mix of plain and stuffed if you like)
- Crackers: 1 (10–12 oz) box or bag (aim for 2–3 types: plain, seeded, or whole grain)
- Nuts (walnuts or mixed nuts): 1 cup
- Grapes: 2 cups (red or green), washed and dried
- Citrus: 1 orange or 1–2 lemons/limes, cut into wedges or thin half-moons
- Optional for extra Mediterranean flair: 1 small jar pepperoncini (drained), 4–8 dried figs or dates
Easy add-ons (optional but helpful)
- Olive oil drizzle: 1–2 tablespoons (for finishing grapes, citrus, or cheeses)
- Something sweet: 2–3 tablespoons honey or fig jam (for small dollops near cheeses)
- Herbs: A small handful fresh rosemary or thyme leaves (optional)
Instructions
- Prep what needs chilling. Place cheese and sliced d meats in the refrigerator if they’re at room temperature. If your cheeses come in blocks, leave them wrapped and portion closer to serving time (so they stay cool but not icy).
- Get the grapes picture-perfect. Wash and dry grapes thoroughly. (Wet grapes melt the “board look” fast.) Chill them until you’re ready to assemble.
- Drain and portion olives. Drain olives well. If you’re using pepperoncini, drain those too. Spoon olives into a small bowl or two (one for plain, one for stuffed, if applicable).
- Portion nuts and crackers to stay crisp. Keep crackers in their package/bag until you plate. Portion nuts into a bowl so they’re easy to grab. If nuts taste a little flat, toast them quickly: spread in a dry skillet over medium-low for 3–5 minutes, stirring often, then cool completely.
- Cut citrus. Cut orange/lemons/limes into wedges or thin half-moons. Keep at room temperature for quicker serving, or chill if your kitchen runs warm.
- Build the “foundation” on a big board or platter. Start with the cheeses: place them first so the spread feels intentional. Use a mix of shapes—slice semi-soft cheeses into wedges or scoops; set firm cheeses in block sections or accordion slices. Leave a little space between cheese portions.
- Add d meats. Fold or roll meat slices so they’re varied and easy to grab. Create 2–3 meat “clusters” rather than one pile.
- Make briny and crunchy clusters. Arrange olives in small mounds around the board. Add nuts in one or two pockets—this prevents them from scattering.
- Layer fruit and brightness last (for best texture). Add grapes around the edges or between clusters so they don’t get squished by hands. Tuck in citrus wedges. If using dried figs, add them in small groups to balance sweetness.
- Optional finishing touches. Add a small drizzle of olive oil and/or tiny dollops of honey or jam near the cheeses. If using herbs, keep them minimal so they don’t overpower.
- Serve at the right temperature—especially the cheeses and meats. Let everything sit out briefly only when you’re actually ready to eat.
Texture/visual cues (quick checks)
- Cheese: Firm cheeses should look cleanly cut; softer cheeses should be set out only briefly so they stay scoopable, not runny.
- Crackers: Keep them dry and separate—crispy crackers should still snap when you press one lightly.
- Grapes: Glossy, firm berries (not shriveled or leaking).
- Meats: Curled folds with good separation, not one sticky layer.
Safe “out on the table” serving guidance
Perishable foods like sliced d meats and many cheeses shouldn’t sit out too long. Follow the 2-hour rule—and 1-hour rule if it’s above 90°F (32°C)—from USDA and CDC guidance for keeping perishable foods out at safe serving times. If your hosting space runs cool, use smaller plates/bowls and replenish from the fridge so the main board stays safe.
Tips & variations
- Cheese swap: If you don’t want semi-soft cheeses, use two firm cheeses (one nutty/grating style + one aged rind cheese) and add a soft spread like whipped feta or hummus in a small bowl.
- Olive swap: Use Kalamata-style olives, or mix in a few roasted red peppers if you want something a little sweeter.
- Cracker swap: Try sliced cucumbers or toasted pita for gluten-free-leaning options (keep them separate until serving).
- Add crunch for kids: Include a “plain lane” of crackers and grapes near the edge for easy grabbing.
Serving ideas
- Pairings: A crisp white (or a lightly chilled red), sparkling water with citrus, and olives + grapes do a great job of tying the flavors together.
- Board styling: Put crackers on one side and fruit on the opposite side to keep hands from turning everything into one pile.
- Make it interactive: Include a small spoon for olives and a knife for the cheese so guests don’t hunt for tools.
Storage notes
- Before serving: Chill cheese, sliced meats, and grapes until assembly. Keep crackers sealed to prevent sogginess.
- After serving: Refrigerate leftover d meats and cheeses promptly. Eat leftovers within 3–4 days.
- Leftover crackers: Store in an airtight container; if they’ve softened, re-crisp in a low oven (around 300°F) for a few minutes before serving.
