Crispy Chicken Strips and Nuggets (Easy Home-Style Breading, Plus Freezer Tips)
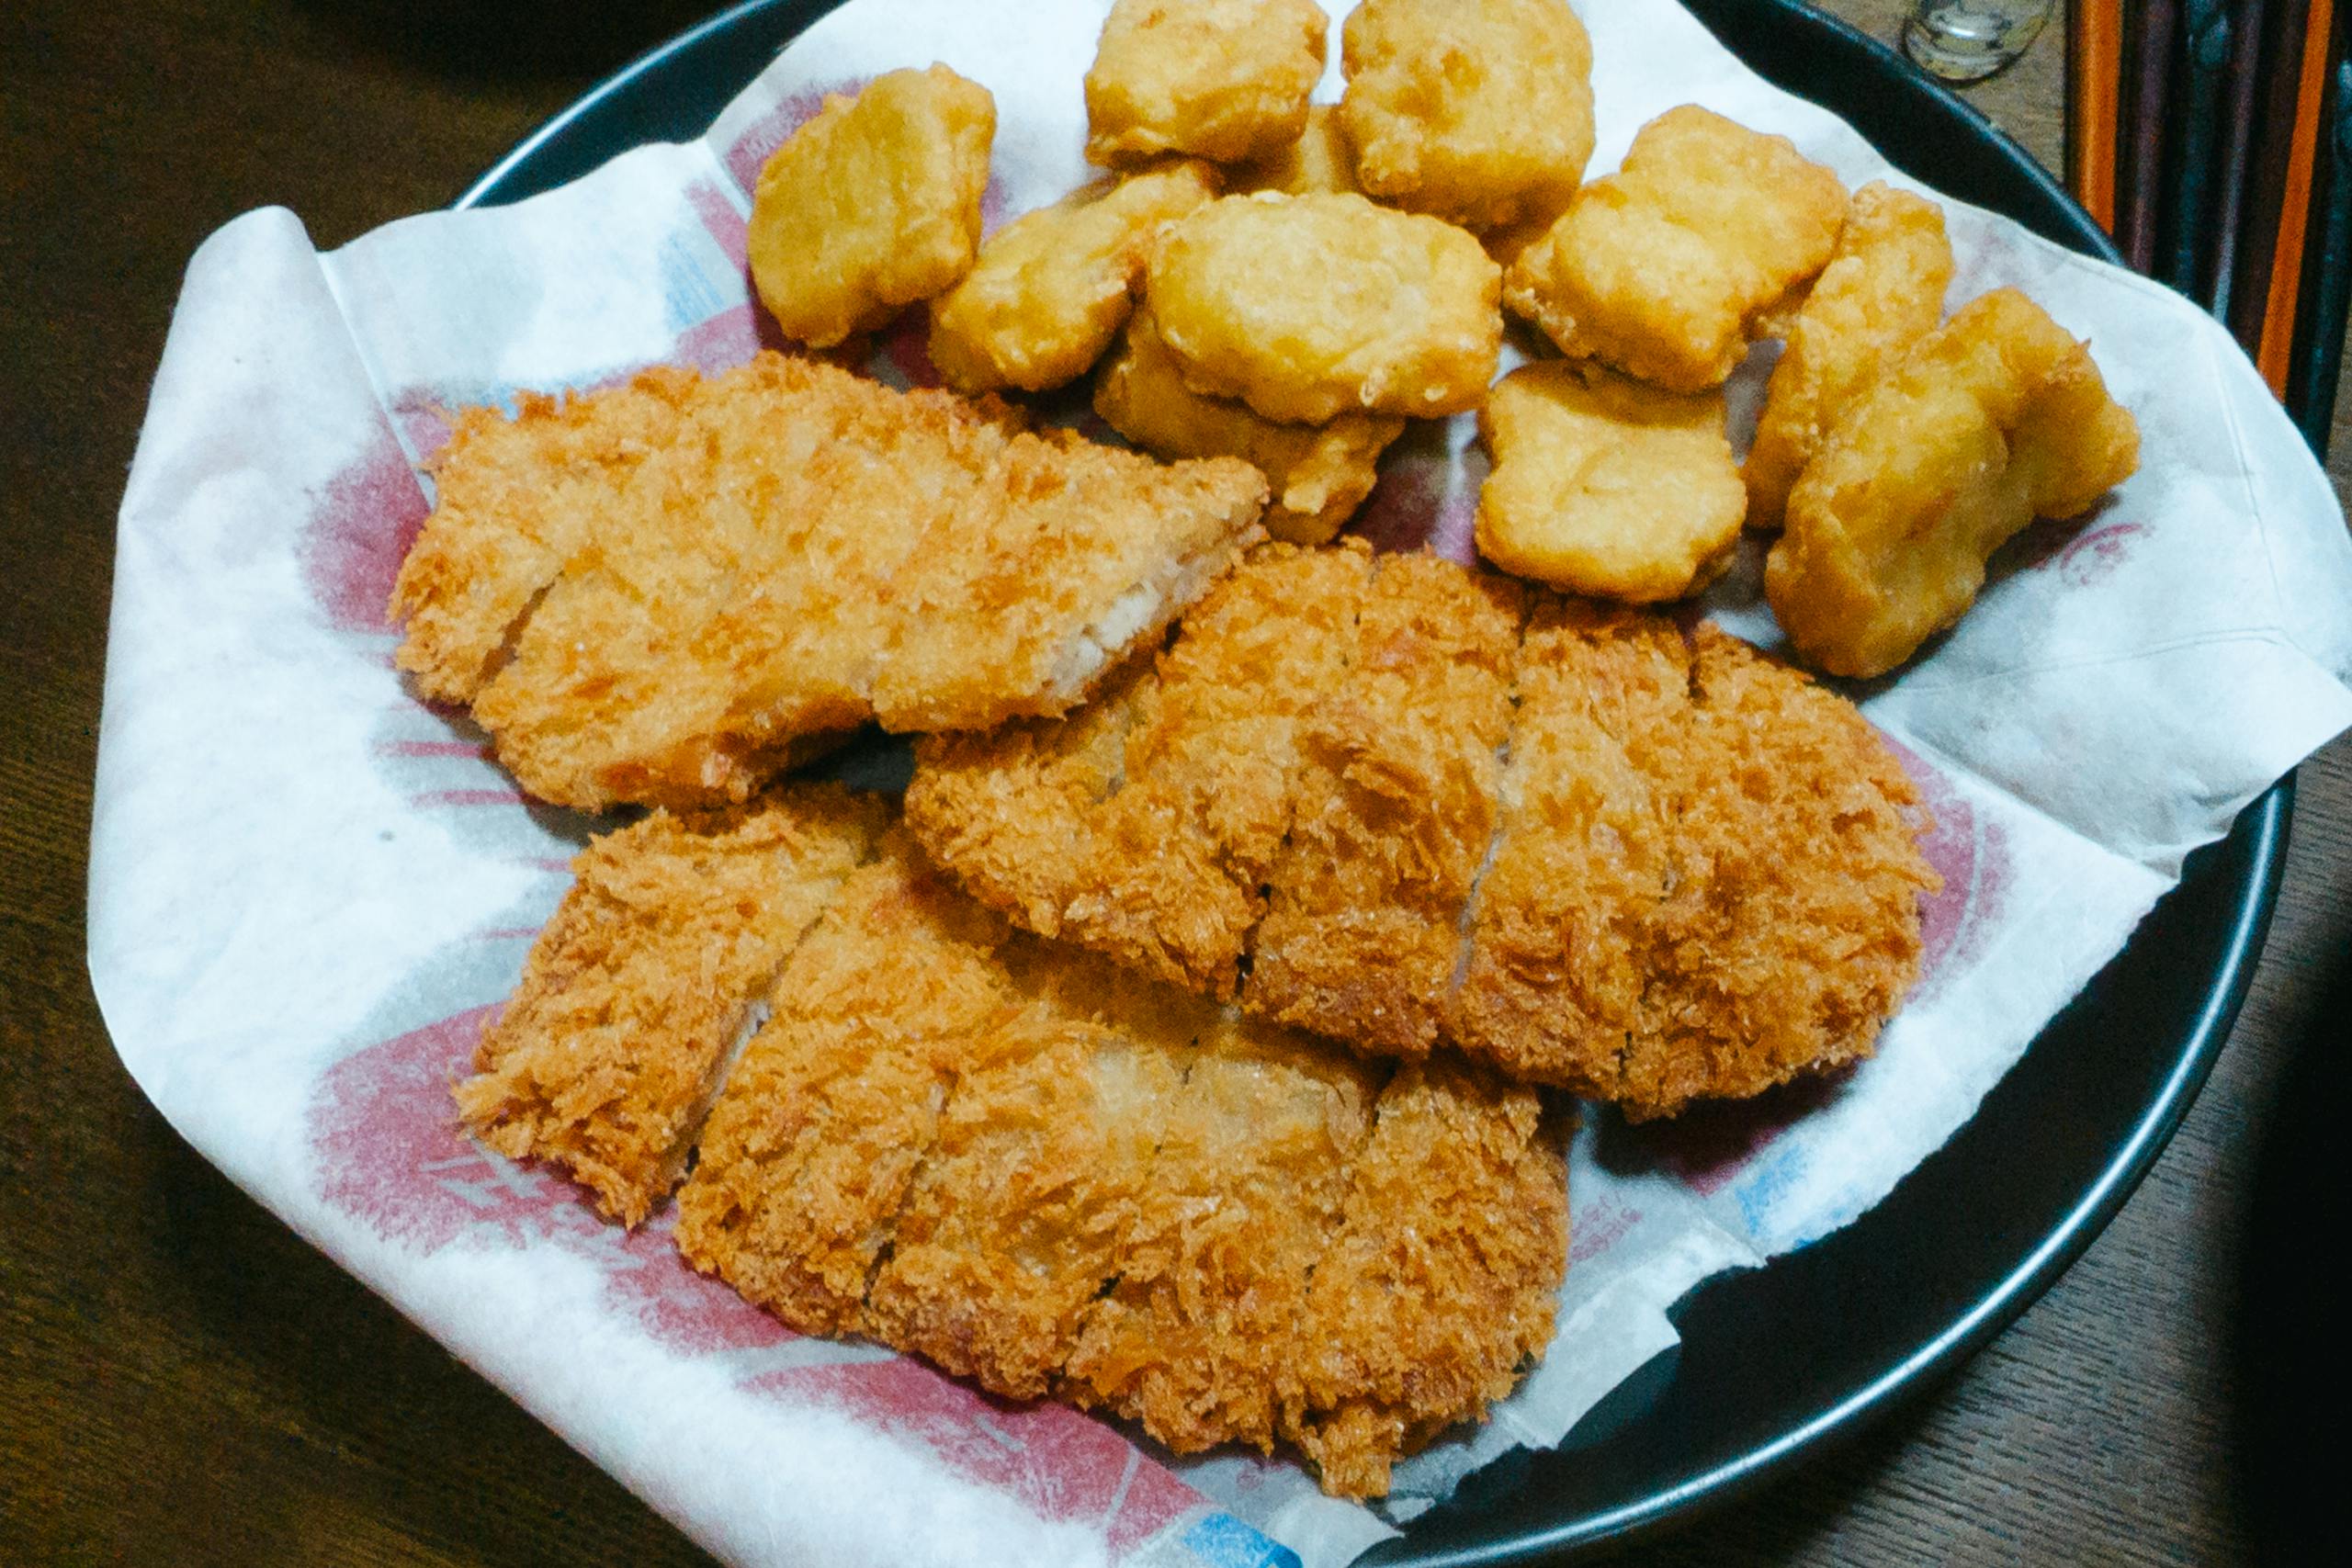
There’s something timeless about a plate of crispy chicken strips and nuggets—golden on the outside, juicy inside, and ready to share. Whether you’re cooking for kids, game-day guests, or just craving a crunchy dinner, this flexible method delivers dependable results without complicated ingredients.
This recipe uses a simple three-step breading process and works for strips or nugget-sized pieces. I’ll also walk you through oven and air-fryer options, plus safe-handling and storage tips so you can cook with confidence.
Ingredients
- 1 1/2 to 2 pounds boneless, skinless chicken breasts (or thighs), cut into strips or bite-size pieces
- Salt and black pepper
- 1 cup all-purpose flour
- 2 large eggs
- 1 to 2 tablespoons water or milk
- 1 to 1 1/2 cups breadcrumbs (regular or panko)
- Optional: paprika, garlic powder, dried herbs, or other favorite seasonings
- Neutral oil for frying (such as vegetable or canola)
This base is intentionally flexible. The flour helps the egg stick, and the egg helps the crumbs cling—creating that classic crisp coating, a structure explained in King Arthur Baking’s guide to breading and frying.
How to Make It
1. Set up a breading station
Use three shallow bowls:
- Flour seasoned with salt, pepper, and any spices.
- Eggs whisked with a splash of water or milk.
- Breadcrumbs (seasoned if you like).
Pat the chicken dry with paper towels. Dredge each piece in flour, dip in egg, then press into breadcrumbs. Set the coated chicken on a plate or rack and let it rest for 10–15 minutes. That short rest helps the coating adhere and fry up crisp.
2. Shallow-fry until golden
Pour about 1/2 inch of oil into a heavy skillet and heat over medium to medium-high. The oil should shimmer but not smoke. Fry in batches so you don’t crowd the pan.
Cook strips or nuggets for about 3–5 minutes per side, depending on thickness, until deep golden brown.
Most importantly, cook chicken to an internal temperature of 165°F. The USDA Food Safety and Inspection Service recommends 165°F as the safe minimum internal temperature for poultry. Use an instant-read thermometer and check the thickest piece to be sure.
Transfer to a paper-lined plate or wire rack to drain.
Oven Option
Heat oven to 425°F. Place breaded chicken on a lightly oiled baking sheet or on a rack set over a sheet pan. Lightly spray or brush the tops with oil to encourage browning.
Bake 15–20 minutes, flipping halfway through, until crisp and cooked to 165°F. The coating will be slightly less rich than fried, but still nicely crunchy.
Air-Fryer Option
Preheat the air fryer to 375–400°F (depending on your model). Arrange chicken in a single layer and lightly spray with oil.
Cook 10–14 minutes, turning halfway, until golden and the internal temperature reaches 165°F.
Serving Ideas
- Family dinner with roasted potatoes and a simple green salad.
- Game-day platter with raw veggies and a few dipping sauces.
- Kid-friendly meal tucked into soft rolls or sliced over mac and cheese.
- Chopped over a crisp salad for lunch the next day.
Because the seasoning is flexible, you can lean classic and simple or add spices to match whatever you’re serving alongside.
Safe Handling and Storage Tips
Raw chicken should be thawed in the refrigerator—not on the counter—to reduce the risk of bacterial growth, according to USDA poultry safety guidance. Keep raw poultry separate from other foods, and wash hands, utensils, and cutting boards thoroughly after contact.
For storage timelines, FoodSafety.gov recommends:
- Raw chicken (refrigerator): 1–2 days.
- Cooked chicken (refrigerator): 3–4 days.
- Raw chicken (freezer): Up to 9 months for pieces.
- Cooked chicken (freezer): Best quality within about 4 months.
Freezer Tip for Busy Weeks
You can freeze breaded, uncooked chicken strips or nuggets in a single layer on a baking sheet until solid, then transfer to a freezer bag. Cook from frozen, adding a few extra minutes and checking carefully for 165°F.
Reheating for Crispness
For leftovers, skip the microwave if you want to keep the coating crisp. Reheat in a 375°F oven or air fryer for 5–10 minutes until hot and crunchy again.
Money-Saving Tip: Try Chicken Thighs
Boneless, skinless chicken thighs are often less expensive than breasts and bring a little more richness and moisture to fried strips and nuggets. They’re slightly more forgiving if you cook them a minute too long, which makes them especially helpful for busy weeknights.
Whether you’re serving a crowd or stocking the freezer, this simple method gives you crispy, flavorful chicken you can shape to your family’s tastes—without guessing about safety or storage.