
Easy No-Bake Dessert Cups with Creamy Vanilla Layers and Chocolate or Caramel Toppings
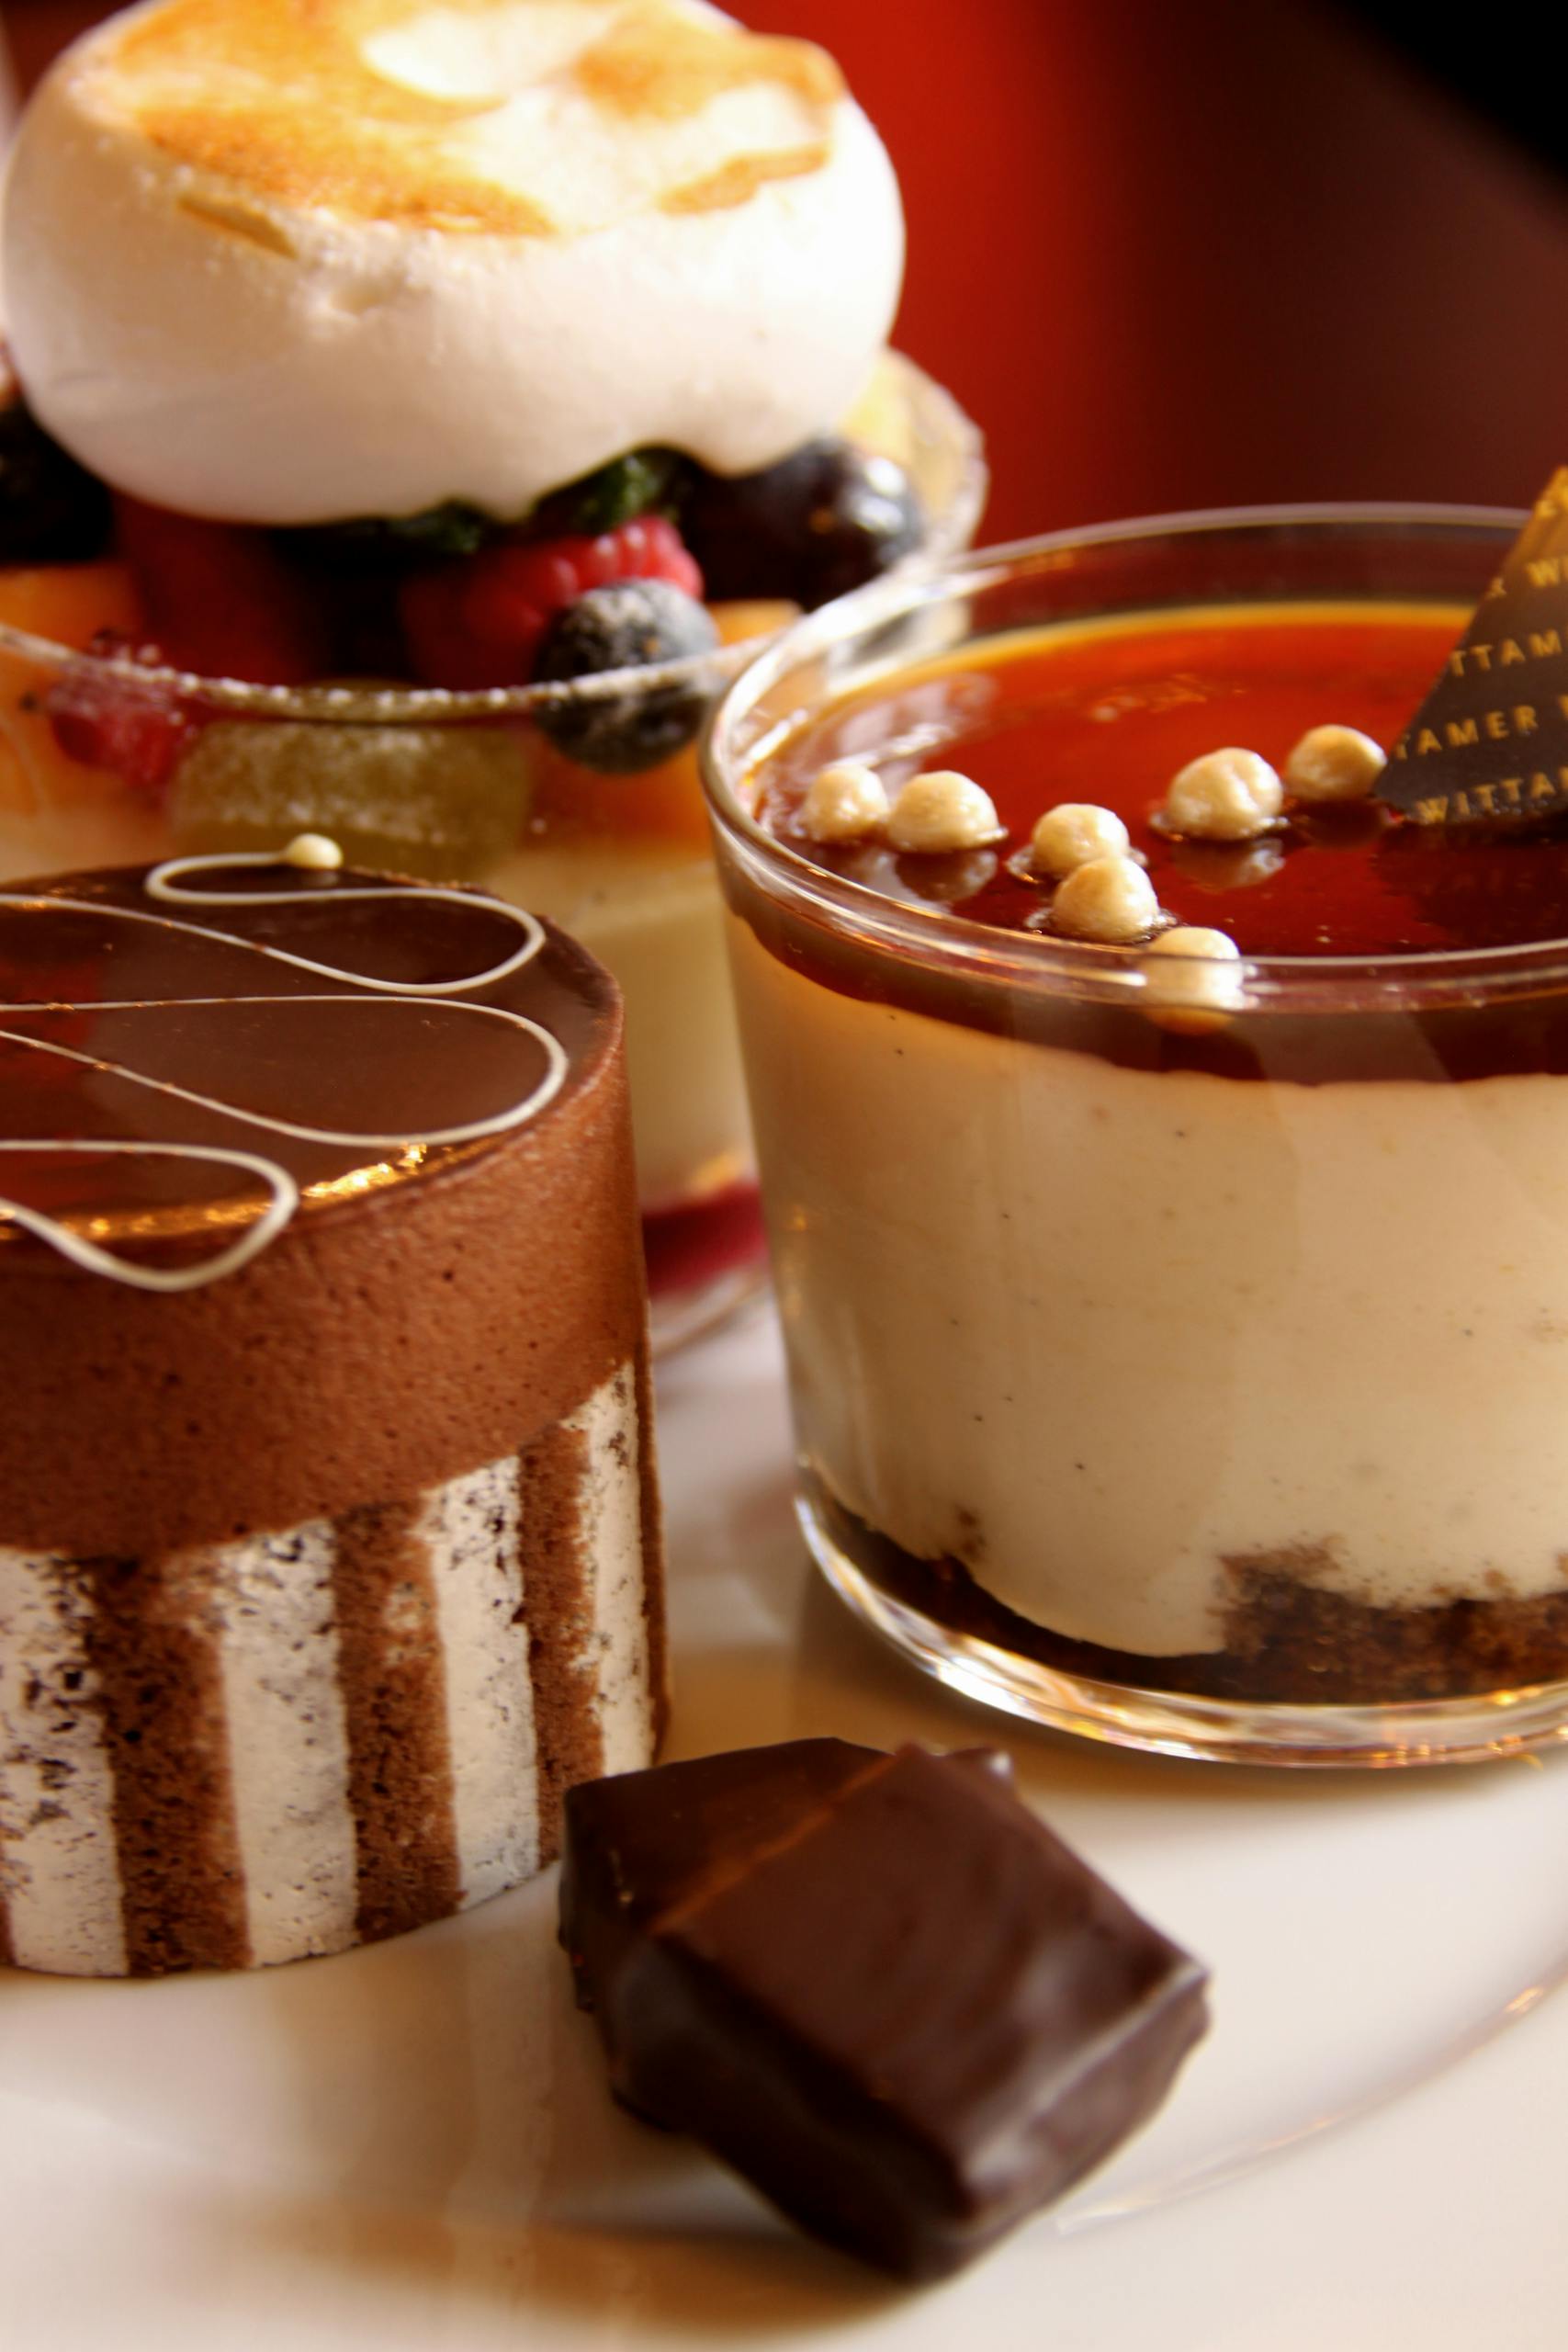
Layered dessert cups are one of the easiest ways to make a weeknight treat feel party-ready. With a creamy vanilla base, a glossy chocolate or caramel-style topping, and a handful of berries or crunchy garnish, you can build a dessert that looks polished but stays completely approachable.
Below is a flexible formula you can use for showers, spring gatherings, or just a family dinner when you want something special without turning on the oven.
The Creamy Vanilla Base: Two Simple Approaches
You have two reliable options for the light-colored base: a stovetop pudding-style filling or a whipped cream cheese filling. Both hold up well in clear cups and create neat, defined layers.
Option 1: Stovetop Pudding-Style Base
This approach gives you a smooth, spoonable layer that firms up as it chills.
- Warm milk in a saucepan.
- Whisk sugar, a pinch of salt, and cornstarch together in a bowl.
- Whisk the dry mixture into the warm milk and cook gently, stirring constantly, until thickened.
- Remove from heat and stir in vanilla extract and a small knob of butter for richness.
King Arthur Baking’s guide to puddings and custards explains that starch-thickened puddings need steady heat and constant stirring to prevent lumps and scorching. Once thickened, press plastic wrap directly onto the surface and chill to prevent a skin from forming.
Option 2: Whipped Cream Cheese Filling
This version is slightly tangy and more structured—great if you want very distinct layers.
- Beat softened cream cheese with sugar until smooth.
- Fold in freshly whipped cream and a splash of vanilla.
- Chill briefly before assembling.
For stability, chill your mixing bowl before whipping cream and stop once soft-to-medium peaks form. Overwhipping can cause a grainy texture. The cream cheese adds structure so the filling holds its shape in the cup.
How to Build Clean Layers in Clear Cups
Presentation is part of the fun here. To get tidy layers:
- Spoon or pipe the base into the bottom of each glass. A piping bag (or zip-top bag with the corner snipped) gives you better control than a spoon.
- Tap the glass gently on the counter to level the layer.
- Chill for 15–20 minutes before adding the next layer to help it set.
- Add toppings slowly, pouring over the back of a spoon to keep the lines clean.
Repeat with additional layers if you’d like—just allow brief chilling time between each one for sharper definition.
Topping Ideas: Chocolate, Caramel-Style Sauce, and Crunch
A glossy top layer transforms a simple cream base into something dinner-party ready.
- Chocolate topping: Gently melt chocolate with a splash of cream until smooth, then cool slightly before spooning over the chilled base.
- Caramel-style sauce: Warm store-bought caramel sauce until pourable and drizzle evenly across the surface.
- Berries: Top with raspberries or blueberries for color and freshness.
- Crunchy garnish: Toasted cookie crumbs, crisp chocolate pearls, or chopped chocolate add texture contrast.
If using fresh berries, rinse them under cool running water and dry thoroughly before topping. Excess moisture can thin your topping and affect the look of the layers.
Chocolate Variation: A Quick Mousse-Style Filling
For a darker, richer cup, swap the vanilla base for an easy chocolate filling.
- Melt chopped chocolate gently and let it cool slightly.
- Fold it into softly whipped cream, sweetened lightly to taste.
- Chill briefly before layering.
You can also stir melted chocolate into the pudding-style base while it’s still warm for a more structured chocolate layer. Either method pairs well with a drizzle of white chocolate or a handful of fresh berries.
Make-Ahead and Safe Storage
Because these desserts are dairy-based, proper refrigeration matters. Nutrition.gov advises keeping perishable foods refrigerated at 40°F or below and limiting time at room temperature. FoodSafety.gov reinforces that chilled foods should not sit out for extended periods.
Practical tips for home cooks:
- Assemble dessert cups the day before serving and refrigerate promptly.
- Cover each cup tightly with plastic wrap or store in an airtight container.
- Serve straight from the refrigerator and return leftovers promptly.
If transporting to a gathering, use an insulated cooler with ice packs to maintain safe temperatures.
Money-Saving Shortcut
These cups can look elegant without stretching your grocery budget.
- Use boxed vanilla pudding mix as the base and chill until fully set before layering.
- Choose store-brand chocolate for melting.
- Swap fresh berries for frozen ones—thaw and drain well before using to avoid extra liquid.
Small clear glasses, reusable jars, or even sturdy plastic cups work beautifully, especially for larger gatherings.
Serving Ideas for Gatherings
Plan on one small cup per guest for a larger dessert spread, or two petite cups per person if dessert is the main attraction. Offering both a vanilla-layered version and a chocolate-forward option gives guests variety without doubling your prep time.
Layered dessert cups are proof that approachable home cooking can still feel refined. With a flexible base, thoughtful toppings, and smart food-safety habits, you can create a dessert that’s just as comfortable at a family table as it is at a spring celebration.
